As someone who's been known to string a few words together, I know that a well-crafted outline can be a key part of any writing project. Why? A good outline helps you organize your work. It provides a structure for what you're writing as well as a roadmap from beginning to end.
Outlines aren't just for writing, either. They can be a great tool for organizing just about any kind of project.
I've found that the best way to create an outline is with a dedicated piece of software. Most of the outlining software that I've tried on the Linux desktop, though, has been OK. Nothing special, but OK. One outliner I keep coming back to is TreeLine.
A little bit about TreeLine
According to its developer:
Some would call TreeLine an Outliner, others would call it a PIM. Basically, it just stores almost any kind of information. A tree structure makes it easy to keep things organized. And each node in the tree can contain several fields, forming a mini-database.
You can use TreeLine to (as the tag line for a popular web-based outline tool goes) organize your brain. You can use TreeLine like that if you want, but that's overkill for me.
Getting and installing TreeLine
If you're using Linux, you might be able to install TreeLine from your distro's package manager. If not, it's not available from the package manager, or if you're using Windows, you'll need to download and install TreeLine.
Before you do that, however, check to see if your computer meets all of TreeLine's requirements. You might need to install some supporting software and libraries before you do the deed.
Creating an outline
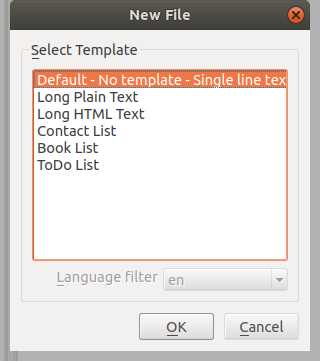
When you first start TreeLine, you'll be asked to choose a template for your outline.
opensource.com
When creating outlines, I usually choose Long HTML Text. That template is simple, is free form, and gives me enough flexibility to change the structure of my outlines if I need to. Click OK.
opensource.com
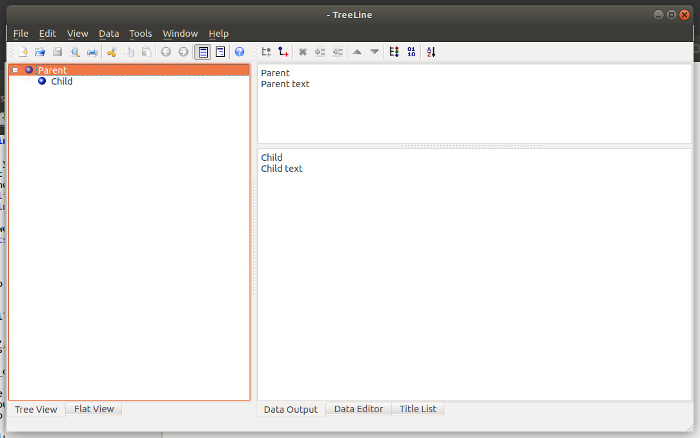
Notice that pane on the right? It's kind of unsightly and not really useful with an outline. But you don't have to look at it while you're working. Just drag it to the right to hide it.
With each outline or list you create, there are two items (called nodes) named Parent and Child. Those are the default names. Just double click them to change their names to something more useful.
Most outlines have more than two nodes. To add a node, click either the Insert Sibling After or Add Child Node buttons on the toolbar.
opensource.com
A sibling node is one that's on the same level as the node above it. Think of sibling nodes as branches in the tree of your outline. So what are the leaves? Those are the child nodes. When you add a child node, it's indented. If you accidentally add a child node or a sibling node and want to adjust its level in the hierarchy, click the Indent Node or Unindent Node buttons on the toolbar.
opensource.com
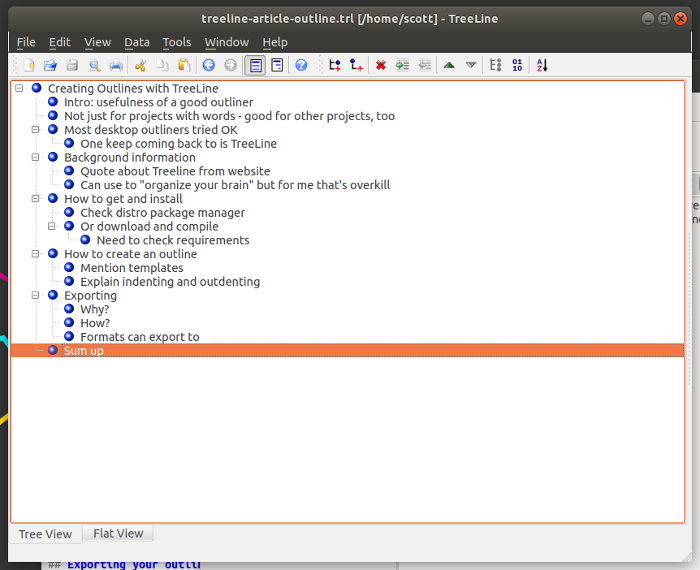
Add nodes for all the items in your outline. You'll wind up with something like this:
opensource.com
Yes, that was the outline for this article. And I stuck to it!
Exporting your outlines
You're not always at your computer. Sometimes you'll want to take your outlines with you. But since TreeLine doesn't have a mobile version, you'll have to export your outlines to a more portable format. TreeLine, as you've guessed, lets you do that.
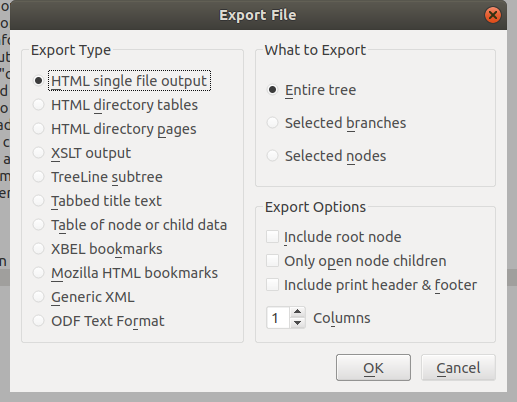
To export an outline, select File > Export.
opensource.com
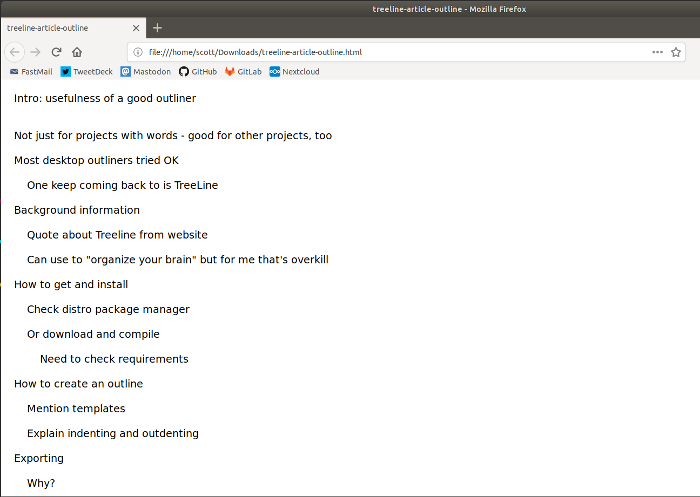
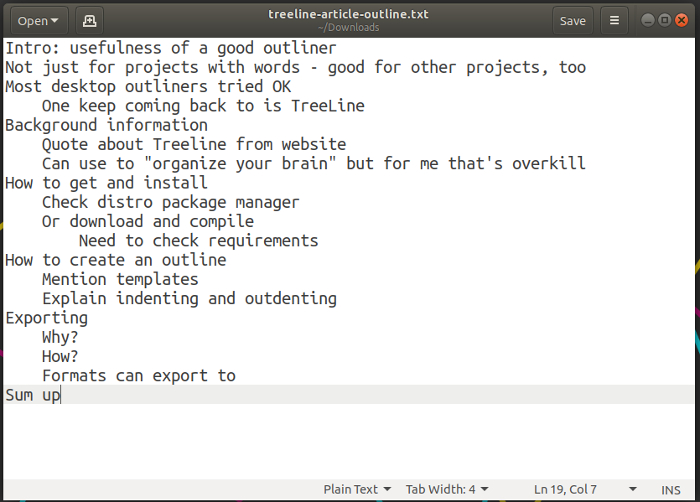
You can export information from TreeLine in a variety of formats. The ones I found most useful, and which retained the integrity of the lists, are HTML single file output and Tabbed title text. When you click OK, you're prompted to give the export file a name and a directory in which to save it. Once the file is exported, you can view it in a web browser:
opensource.com
Or using a text editor:
opensource.com
The results aren't incredibly pretty, but they give you a good idea of what you're working on.
Final thought
I haven't covered all of TreeLine's features in this article, just the ones I regularly use. While I think the interface could do with some sprucing up and some usability tweaks, TreeLine is a very flexible tool for creating outlines on the Linux desktop.


1 Comment