Fedora Media Writer is a small, lightweight, comprehensive tool that simplifies the Linux getting-started experience. It downloads and writes Fedora Workstation or Server onto a USB drive that can boot up on any system, making it accessible for you to try Fedora Linux without having to install it to your hard drive.
The Media Writer tool can be used to create a live, bootable USB. After installing the Fedora Media Writer application on your platform, you can download and flash the latest stable version of Fedora Workstation or Server, or you can choose any other image you've downloaded. And it isn't limited to Intel 64-bit devices. It's also available for ARM devices, such as the Raspberry Pi, which are becoming more powerful and useful every day.

(Sumantro Mukherjee, CC BY-SA 4.0)
Install Fedora Media Writer
You have several options for installing Fedora Media Writer. You can build it from source on GitHub, download it for macOS or Windows, use an RPM with dnf or yum, or get it as a Flatpak.
On Fedora:
$ sudo dnf install mediawriter
See the Releases section of the GitHub repo for the latest version.
Prepare your media
The first thing you need is a USB drive for your Linux OS to be installed onto. This is what Fedora Media Writer will flash. This drive must be either blank or expendable because all data on the USB drive will be erased. If there's any data—even just one file—that you don't want to lose, then you must back it up before continuing!
Once you've got a USB drive that you've confirmed is expendable, plug it into your computer and launch Fedora Media Writer.
Use Fedora Media Writer
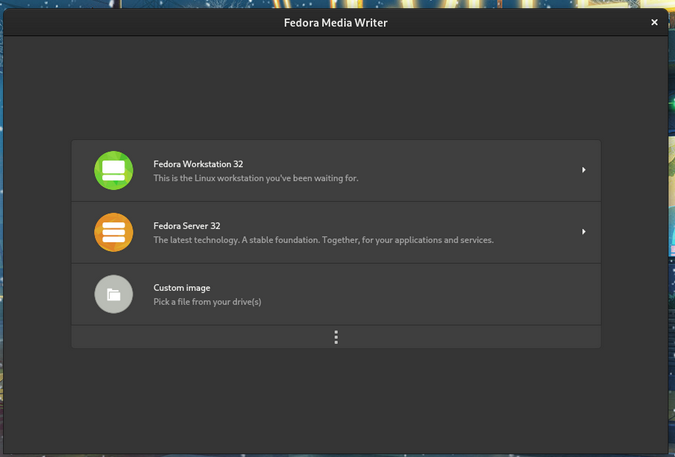
When you launch Fedora Media Writer, you're presented with a screen that prompts you to acquire a bootable image from the Internet, or to load a custom image from your hard drive. The first selections are the latest releases of Fedora: Workstation for desktops and laptops, and Server for virtualization, rack servers, or anything you want to run as a server.
Should you select one of the Fedora images, Media Writer downloads a disc image (usually called an "iso", after its filename extension of .iso) and saves it to your Downloads folder so you can reuse it to flash another drive if you want.

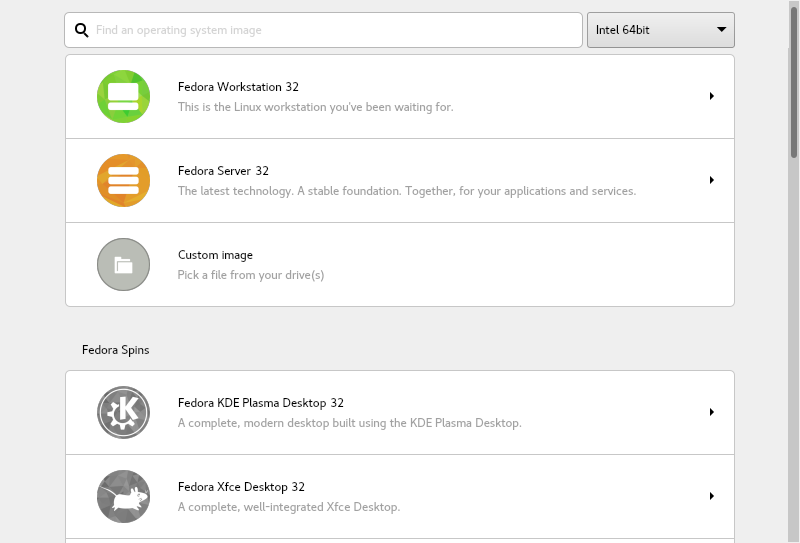
Also available are Fedora Spins, which are images from the Fedora community meant to satisfy niche interests. For instance, if you're a fan of the MATE desktop, then you'll be pleased to find a MATE "spin" available from Media Writer. There are many to choose from, so scroll through to see them all. If you're new to Linux, don't be overwhelmed or confused: the extra options are intended for longtime users who have developed preferences aside from the defaults, so it's safe for you to just use the Workstation or Server option depending on whether you want to run Fedora as a desktop or as a server OS.
If you need an image for a different CPU than the one you're currently using, select the CPU architecture from the drop-down menu in the upper-right corner of the window.
If you have an image saved to your hard drive already, select the Custom Image option and select the .iso file of the distribution you want to flash to USB.
Writing to a USB drive
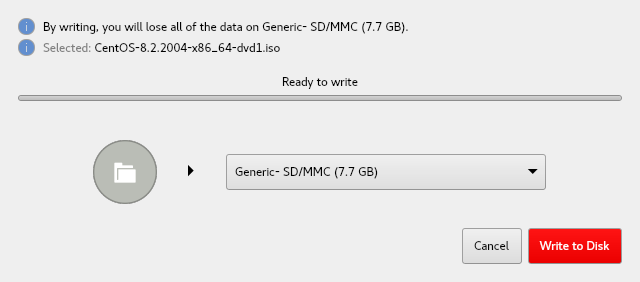
Once you've downloaded or selected an image, you must confirm that you want to write the image to your drive.
The drive selection drop-down menu only shows external drives, so there's no chance of you accidentally overwriting your own hard drive. This is an important feature of Fedora Media Writer, and one that makes it much safer than many manual instructions you might see elsewhere online. However, if you have more than one external drive attached to your computer, you should remove them all except the one you want to overwrite, just for added safety.
Select the drive you want the image to be installed onto, and click the Write to Disk button.

Wait a while for the image to be written to your drive, and then check out Don Watkins' excellent overview of how to boot to Linux from a USB drive .
Get started with Linux
Fedora Media Writer is a way to flash Fedora Workstation or Server, or any Linux distribution, to a USB drive so you can try it out before you install it on your device. Give it a try, and share your experience and questions in the comments.


2 Comments