ImageMagick is the "Swiss Army knife" of manipulating images on the command line. While you could use a desktop graphics program like GIMP or GLIMPSE to adjust or combine photos and graphics, sometimes it's just easier to use one of the almost dozen tools from ImageMagick.
For example, I frequently find myself creating image montages to share on social media. Let's say I wanted to share a montage or "image grid" of several screenshots. To do that, I use the ImageMagick montage command.
ImageMagick is a full suite of tools, and the one I use here is the montage command. The general syntax of the montage command looks like this:
montage {input} {actions} {output}In my case, my screenshots are already the same size: 320x240 pixels. To create a montage of six of these images, in a grid that's two screenshots wide by three tall, I can use this command:
$ montage acronia.png \
ascii-table.png \
music.png \
programming-chess.png \
petra.png \
amb.png \
-tile 2x3 -geometry +1+1 \
screenshot-montage.png
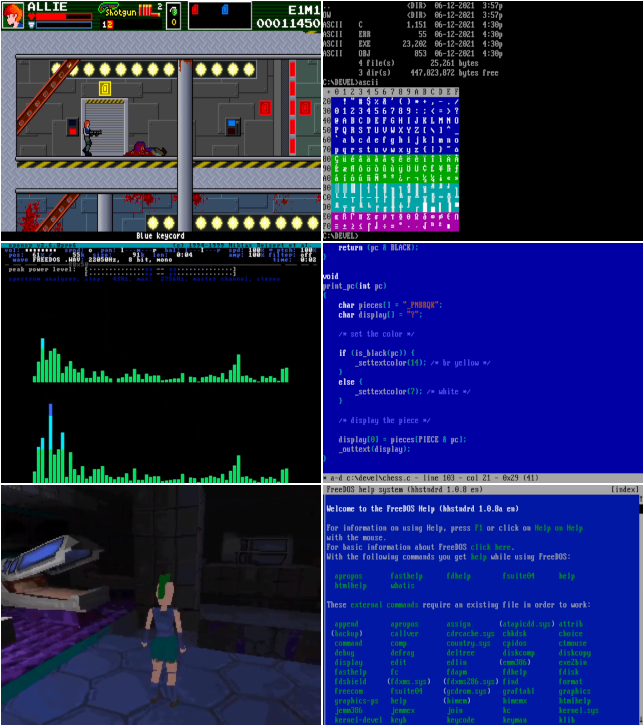
This creates an image that's composed of the six screenshots, with a 1-pixel border around each. Doing the math, that's 644 pixels wide and 726 pixels high.
Note the order of the images: ImageMagick montage arranges the images from left-to-right and top-to-bottom.

Photograph by Jim Hall, CC BY-SA 4.0
In my example, the first row of images shows the open source 2D shooter Acronia and an ASCII programming example, the middle row is an open source music player and a chess programming example, and the third row shows the open source game Post Apocalyptic Petra and the FreeDOS AMB Help reader.
Install ImageMagick on Linux
On Linux, you can install ImageMagick using your package manager. For instance, on Fedora or similar:
$ sudo dnf install imagemagickOn Debian and similar:
$ sudo apt install imagemagickOn macOS, use MacPorts or Homebrew.
On Windows, use Chocolatey.


1 Comment