A text editor is often a good example application to demonstrate what a programming framework is capable of producing. I myself have written at least three example text editors in articles about wxPython and PyQt, and Java. The reason they're seen as easy apps to create is because the frameworks provide so much of the code that's hardest to write. I think that's also the reason that most operating systems provide a simple desktop text editor. They're useful to the user and easy for the developer.
On the KDE Plasma Desktop, there are two text editors to choose from: the humble KWrite and the powerful Kate. They share between them a library called KTextEditor from the KDE Framework, which provides robust text editing options, so no matter which one you choose you have more features than you're probably used to from a "basic" text editor that just happens to be included with your desktop. Using the same component for text editing across text editors means that once you grow accustomed to one text editing interface in KDE, you're essentially familiar with them all: KWrite, Kate, KDevelop, and more.
Install KWrite or Kate
KWrite and Kate are maintained in the same development repository.
However, they’re distributed as separate applications and have different use cases.
If you have KDE Plasma Desktop installed, you probably already have KWrite installed, but you may need to install Kate separately.
$ sudo dnf install kwrite kateKWrite is available from apps.kde.org/kwrite, and Kate from apps.kde.org/kate/.
Both can be installed through KDE Discover, and KWrite can be installed as a flatpak.
KWrite, the not-so-basic editor
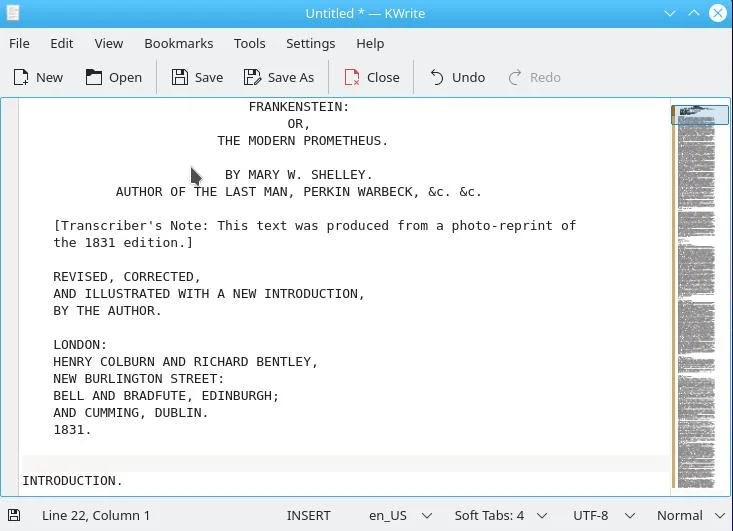
Getting started with KWrite is easy. You launch it from your applications menu and you start typing. If you have no expectations that it's anything more than the most basic of text editors, then you can treat it as a simple digital notepad.

(Seth Kenlon, CC BY-SA 4.0, Text courtesy Project Gutenberg)
All the usual conventions apply. Type text into the big text field, click the Save button when you're done.
However, what sets KWrite apart from a standard desktop editor is that it uses KTextEditor.
Bookmarks
While you're working in KWrite or Kate, you can create temporary bookmarks to help you find important places in your document. To create a bookmark, press Ctrl+B. You can move to a bookmark by selecting it in the Bookmark menu.
Bookmarks aren't permanent metadata, and they don't get stored as part of your document, but they're useful devices when you're working and need to move back and forth between sections. In other text editors, I used to just type some random word, like foobar, and then perform a Find on that string to get back to that location. Bookmarks are a more elegant solution for the problem, and they don't risk littering your document with placeholders that you could forget to delete.
Highlighting
In both KWrite and Kate, you can activate syntax highlighting so you can gain insight about the text you're working on. You might not consciously use highlighting in other word processors, but you've seen a form of highlighting if you've ever used an editor with automated spelling and grammar checking. The red warning line that a misspelling gets marked with in most modern word processors is a form of syntax highlighting. KWrite and Kate can notify you of both errors and successes in your writing.
To see spelling errors, go to the Tools menu and select Spelling. From the Spelling submenu, activate Automatic Spell Checking.
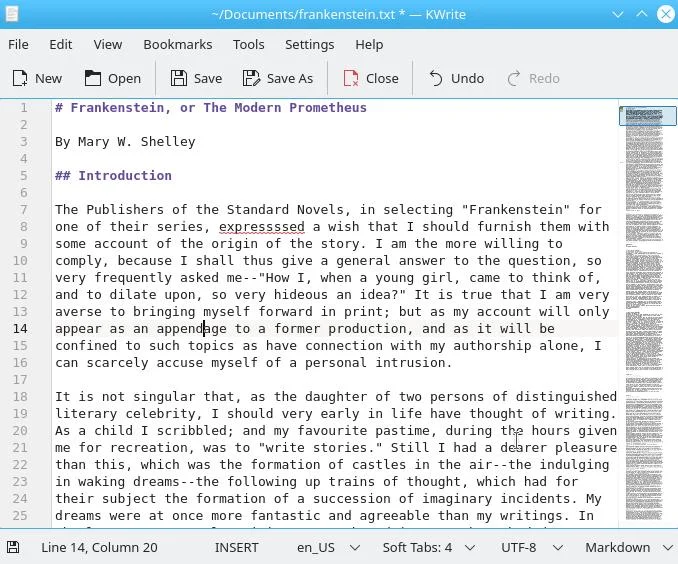
To get visual feedback about what you're writing in a specific format, such as Markdown, HTML, or a programming language like Python, go to the Tools menu and select Mode. There are lots of modes, divided between several categories. Find the format you're writing in and select it. A mode loads in a highlighting schema. You can override a mode's highlighting scheme by choosing Highlighting instead of Mode.

(Seth Kenlon, CC BY-SA 4.0)
One of my favorite features is the document overview on the right side of the window. It's essentially a very very tall thumbnail of the whole document, so you can scroll to specific regions with just one click. It might look like it's too small to be useful, but it's easier than one might think to pinpoint a section heading or an approximate area within a document and get pretty close to it with a click.
What sets Kate apart
With KWrite and Kate using the same underlying component, you might wonder why you'd ever need to graduate on from KWrite at all. If you do decide to try out Kate, you won't do it for the text editing. All the features that affect how you enter and interact with your text are the same between the two applications. However, Kate adds lots of features for coders.

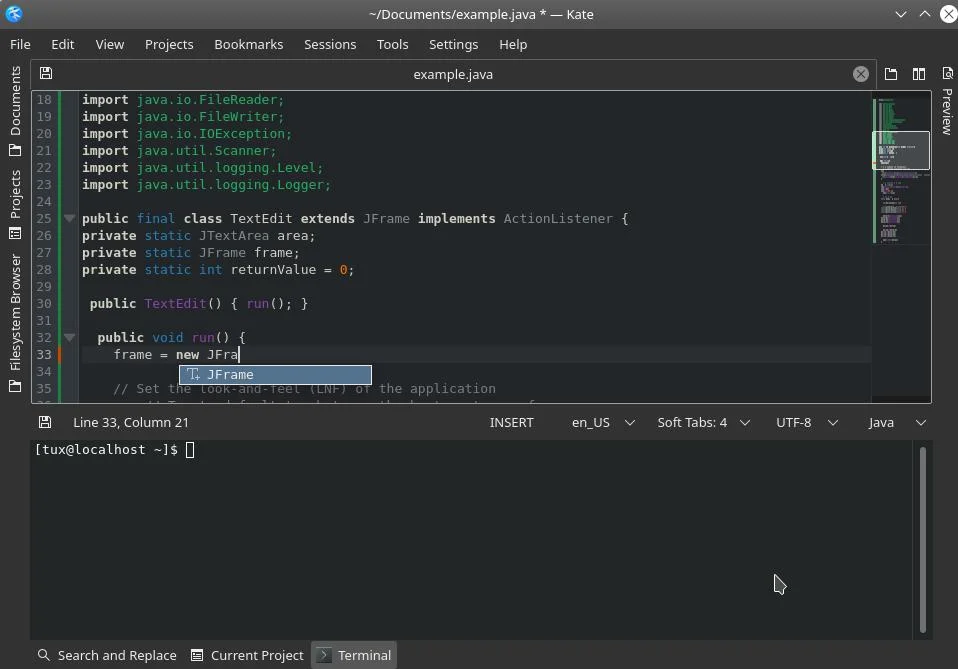
(Seth Kenlon, CC BY-SA 4.0)
Kate features a side panel where you can view your filesystem or just a project directory. Notably, Kate has the concept of projects, so it can correlate one file of code to, for instance, a header file in the same directory. It also has a pop-up Terminal (just press F4) and the ability to pipe text in your document out to the terminal session.
There's also a session manager so you can have a unique Kate configuration for different activities.
Choose your Linux text editor
It's easy to overlook KWrite and Kate. They suffer, in a way, from the default syndrome. Because one or both of them comes along with the desktop, it's easy to think of them as the simple example text editors that developers are obligated to include. That's far from accurate, though. KWrite and Kate are paragons among K-apps. They exemplify what the KDE Framework provides, and they set the stage for an expectation of powerful, meaningful, and useful KDE applications.
Take a look at KWrite and Kate, and see which one is right for you.


Comments are closed.