Automation is a hot topic right now. In my day job as a site reliability engineer (SRE), part of my remit is to automate as many repeating tasks as possible. But how many of do that in our daily, not-work, lives? This year, I am focused on automating away the toil so that we can focus on the things that are important.
One of the earliest things I learned about as a fledgling systems administrator was cron. Cron is used far and wide to do things like rotate logs, start and stop services, run utility jobs, and more. It is available on almost all Unix and Linux systems, and is something every sysadmin I know uses to help manage services and servers. Cron can run any console application or script automatically, which makes it very, very flexible.

(Kevin Sonney, CC BY-SA 4.0)
I have used cron to fetch email, run filtering programs, make sure a service is running, interact with online games like Habitica, and a lot more.
Using cron the traditional way
To get started with cron, you can simply type crontab -e at the command line to open up an editor with the current crontab (or “cron table”) file for yourself (if you do this as root, you get the system crontab). This is where the job schedule is kept, along with when to run things. David Both has written extensively on the format of the file and how to use it, so I'm not going to cover that here. What I am going to say is that for new users, it can be a bit scary, and getting the timing set up is a bit of a pain.
Introducing crontab-ui
There are some fantastic tools out there to help with this. My favorite is crontab-ui, a web frontend written in Node.js that helps manage the crontab file. To install and start crontab-ui for personal use, I used the following commands.
# Make a backup
crontab -l > $HOME/crontab-backup
# Install Crontab UI
npm install -g crontab-ui
# Make a local database directory
mkdir $HOME/crontab-ui
# Start crontab-ui
CRON_DB_PATH=$HOME/crontab-ui crontab-ui
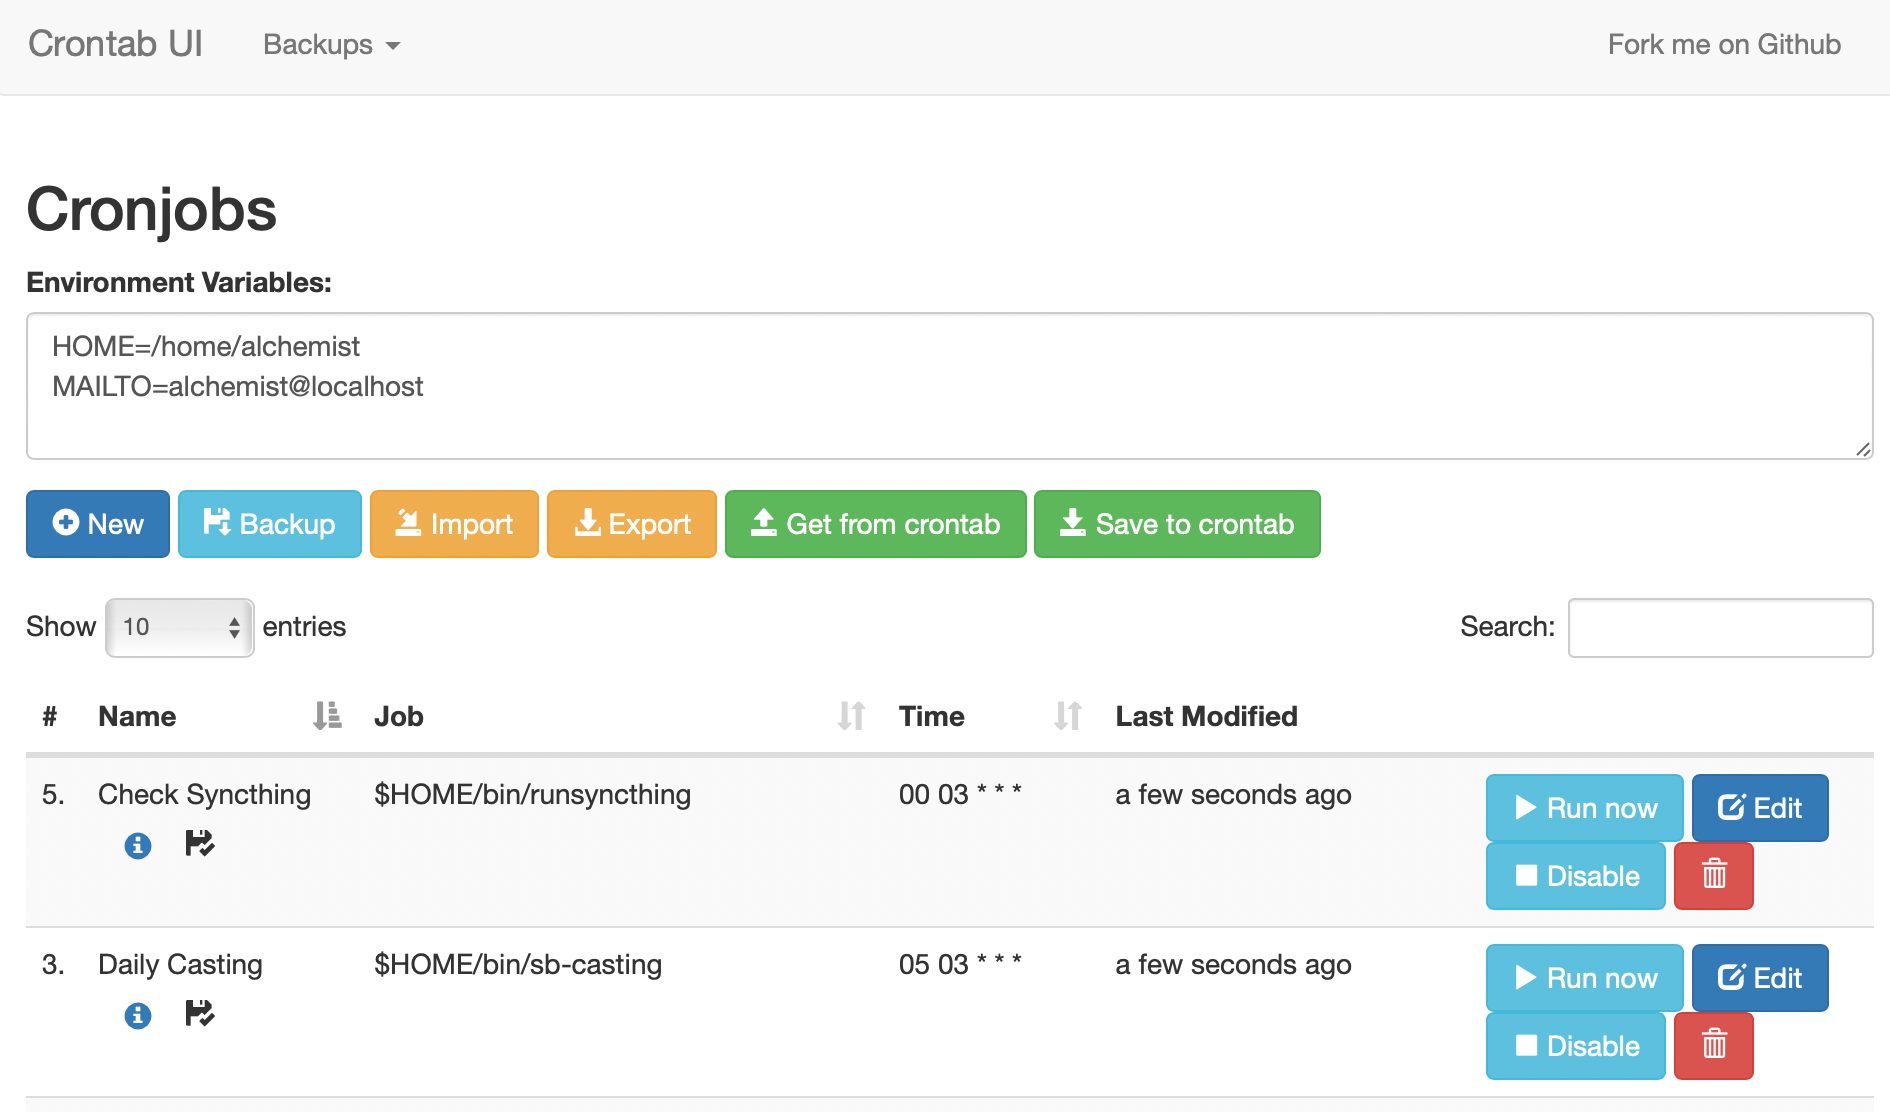
Once this is done, simply point your web browser at https://localhost:8000 and you'll get the crontab-ui web interface. The first thing to do is click “Get from Crontab” to load any existing jobs you may have. Then click Backup so that you can roll back any changes you make from here on out.

(Kevin Sonney, CC BY-SA 4.0)
Adding and editing cron jobs is very simple. Add a name, the full command you want to run, and the time (using cron syntax), and save. As a bonus, you can also capture logs, and set up the mailing of job status to your email of choice.
When you're finished, click Save to Crontab.
I personally really love the logging feature. With crontab-ui, you can view logs at the click of a button, which is useful when troubleshooting.
One thing I do recommend is to not run crontab-ui all the time, at least not publically. While it does have some basic authentication abilities, it really shouldn't be exposed outside your local machine. I don't need to edit my cron jobs frequently (anymore), so I start and stop it on demand.
Try crontab-ui the next time you need to edit your crontab!


3 Comments