March 14th is celebrated around the world as Pi Day. Many people celebrate Pi Day by measuring pi with objects found around the house. I wanted to do something similar for this year's Pi Day using my Raspberry Pi 3B. Read on to learn how I measured pi using my Raspberry Pi.
What you'll need:
- Raspberry Pi single-board computer
- Graph paper
- Ruler with mm and cm measurements
- Pen
1. Draw a circle
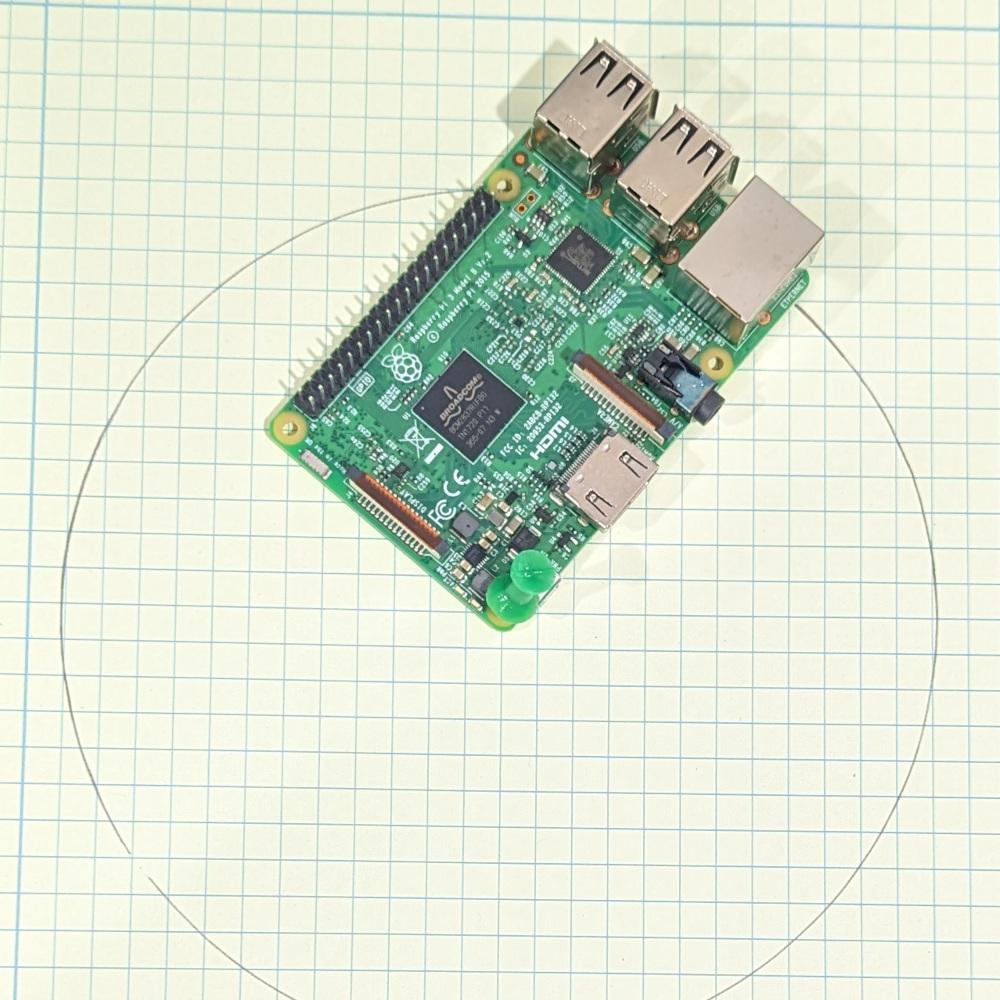
Pi is the ratio of the circumference of a circle to its diameter. To calculate pi, we need to measure both the circumference and diameter of a perfectly drawn circle. Fortunately, the Raspberry Pi motherboard has mounting holes that are big enough to fit a pencil or pen. I stuck a pin through one Pi board mounting hole, careful to land the pin on the intersection of two lines on a piece of graph paper.
Holding the pin still, I inserted a pen in the opposite mounting hole and drew a circle by moving the pen around the pin. The solder points on the underside of the Raspberry Pi motherboard can catch on the paper, but you can draw a good circle if you are careful.

(Jim Hall, CC BY-SA 4.0)
2. Divide the circle into segments
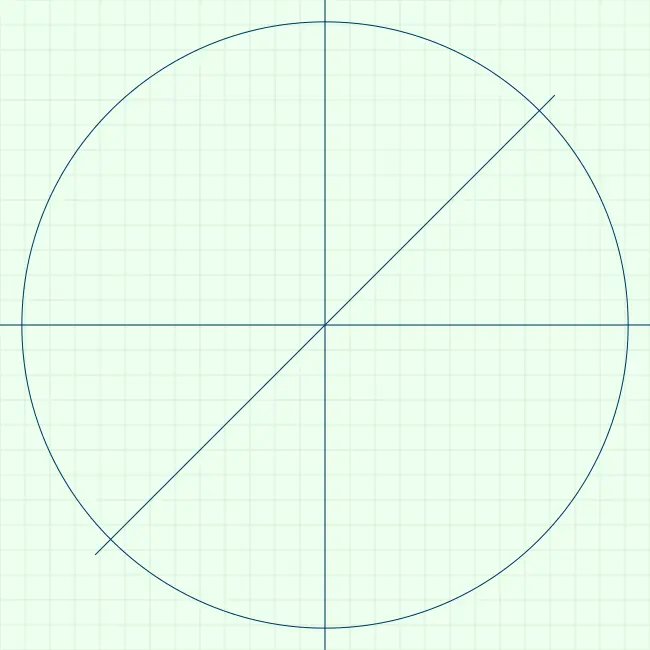
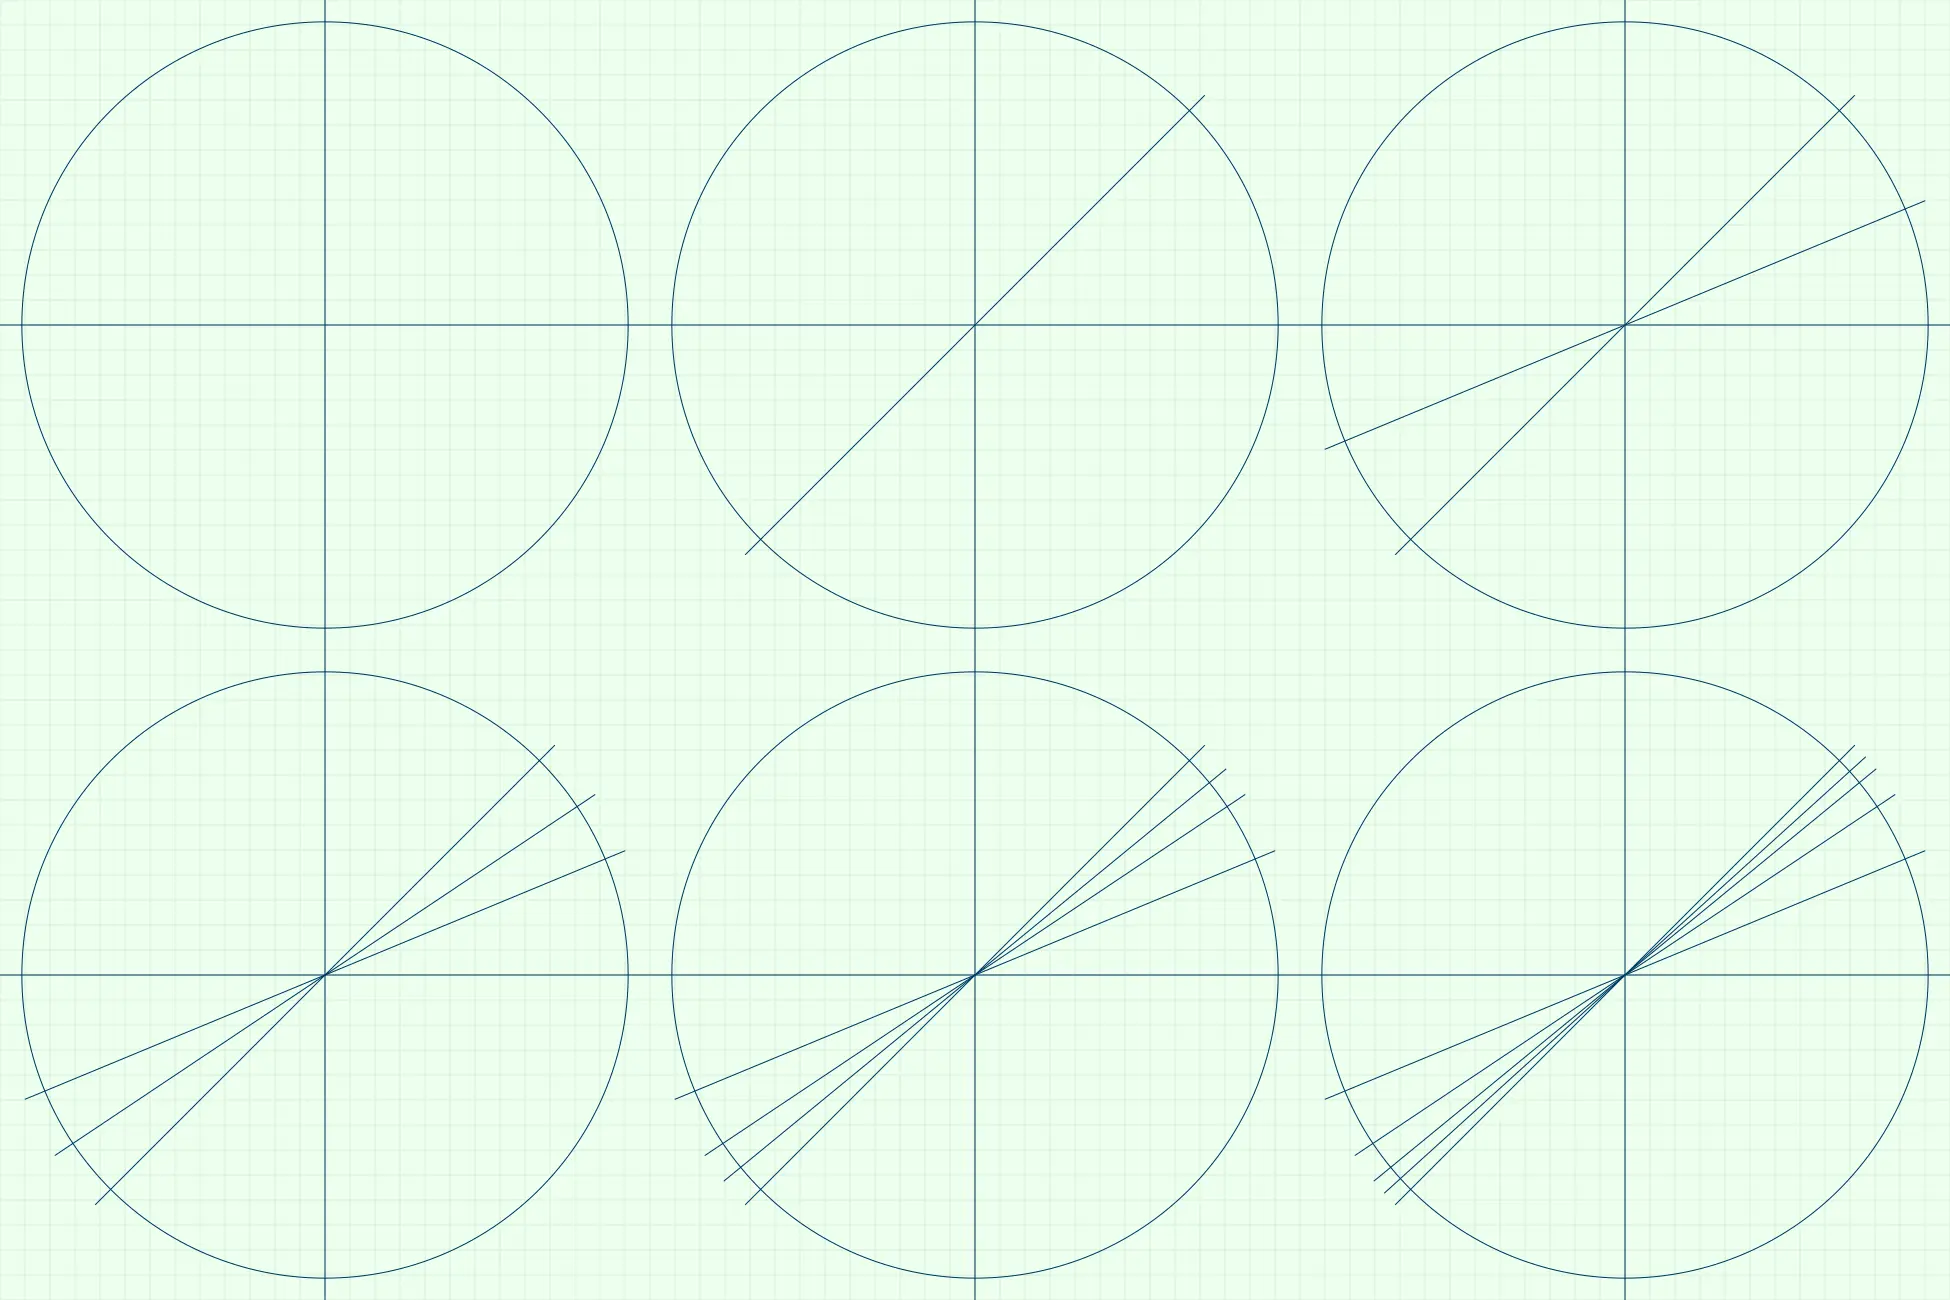
Divide the circle in half by drawing a vertical line through the center of the circle and again into quarters by drawing a horizontal line through the circle. When I drew my circle, I placed the pin exactly on the intersection of two lines on the graph paper, which makes finding the vertical and horizontal center lines easy to find. You can create an "eighth" slice by drawing a line across the diagonal.

(Jim Hall, CC BY-SA 4.0)
Further divisions are an exercise with the ruler. I used the ruler to find the midpoint of any two intersections of the "quarter-wedge" and the "one-eighth wedge" to make a 1/16 wedge. You can use the same method to make smaller and smaller slices that are 1/32 and 1/64 of a circle. By being very careful, I was also able to measure a very narrow wedge at 1/128 of a circle:

(Jim Hall, CC BY-SA 4.0)
3. Estimate the circumference
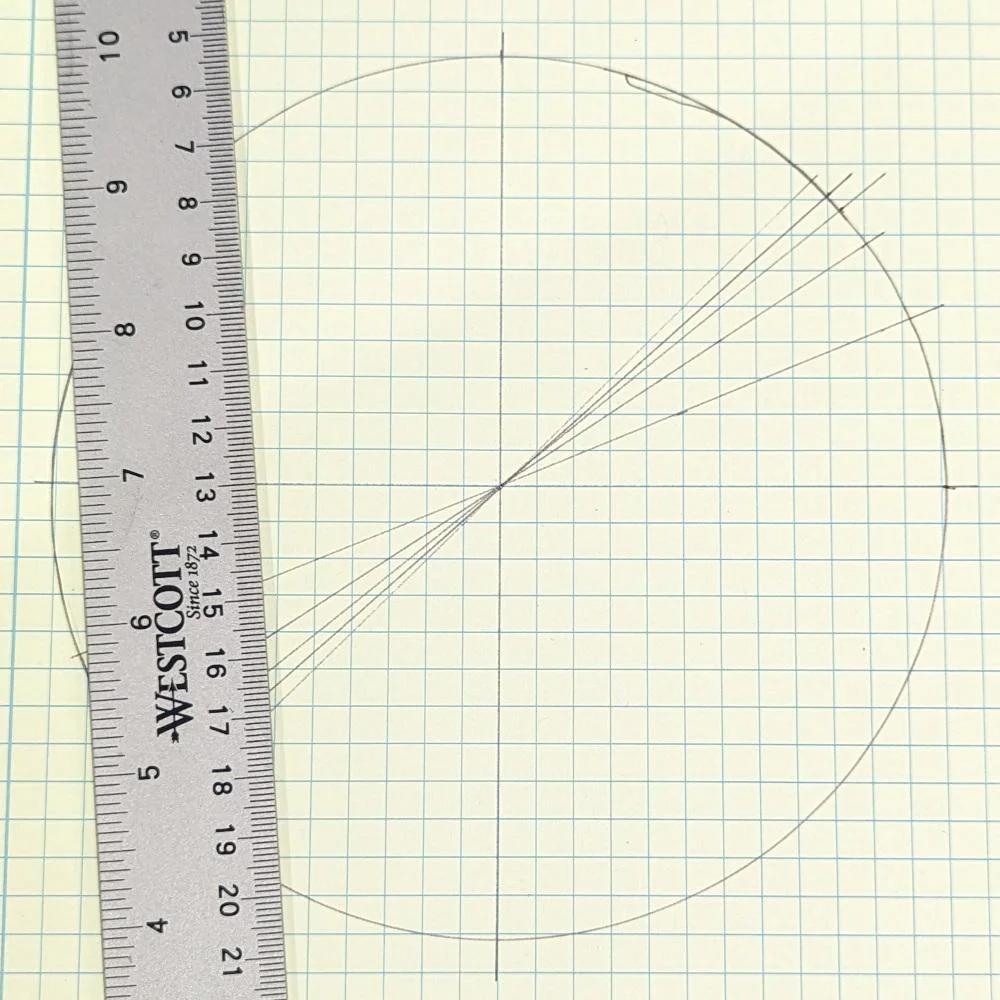
My smallest wedge is 1/128 of a circle. With such a small slice, the outer arc of the wedge is so small that we can approximate it with a straight line. This will not actually be 1/128 of the circle's circumference, but it will be close enough that we can use it as a good estimate.

(Jim Hall, CC BY-SA 4.0)
Using the mm measurement on my ruler, I measured the outer arc of my 1/128 wedge at 3.8mm. With that, I can estimate the circumference of my circle as 3.8mm times 128, or 486.4mm. To convert to centimeters, divide by ten: 48.64cm.
4. Calculate pi
The value of pi is the ratio of the circumference of a circle to its diameter. We estimated the circumference in step 3. Measuring the diameter is a simple exercise of using the ruler to measure across the circle. My circle is 15.4cm.
Now that we know the circumference and diameter, we can calculate pi as 48.64 divided by 15.4, which is 3.158. That's not too far off from the actual value of pi, at 3.141.
Measuring pi is a fun math exercise! Math fans of all ages can use simple tools such as graph paper, pen, and ruler to measure pi on their own. Use your Raspberry Pi in a fun, new way to draw a circle and measure pi independently. This is an estimate since we are approximating a 1/128 arc on a circle as a straight line, but this gets us close enough without too much effort.


Comments are closed.