There are excellent open source alternatives to most proprietary software apps, and OpenProject is one great example. An easy-to-use, feature-rich application for project management and team collaboration, OpenProject includes agile and scrum functionalities, issue and bug tracking, Gantt charts, and more. Many users cite its configuration and customization as one of OpenProject's strongest advantages; it can be matched exactly to the specific needs of virtually any team. Better still, OpenProject is easy to install and deploy.
Installing OpenProject
The software can be downloaded and installed with a Docker image, which lets users easily distribute self-contained applications. OpenProject provides a free Docker image for the Community Edition, which you can install and upgrade on your servers.
The fastest way to get an OpenProject instance up and running is to execute the following command, which runs the latest stable branch of OpenProject (the database and attachments will be saved on the host, so they will still be there after you restart the Docker container):
docker run \
 -p 8080:80 \
 -v /persistent/db-data/dir/on/host:/var/lib/postgresql/9.4/main \
 -v /persistent/openproject/data/on/host:/var/db/openproject \
 -e SECRET_KEY_BASE=youshouldoverwritethiswithsomethingelse \
 openproject/community:7
Don't forget to override the SECRET_KEY_BASE with a sensible value (i.e., a long, randomly generated string).
This will take a bit of time the first time you launch it, but after a few minutes you should see a message indicating the default administration password (login: admin, password: admin).
You can then launch a browser and access your new OpenProject installation at https://localhost:8080. Easy!
For more configuration and installation options, go to the OpenProject Download and Installation page.
Getting started with your team
1. Create a project
OpenProject is designed for managing multiple projects at the same time, and once you've launched your new OpenProject installation, you can immediately get your teams on board.
The first step is to create a new project, or a project structure. You can do this directly from the home page of your OpenProject application.
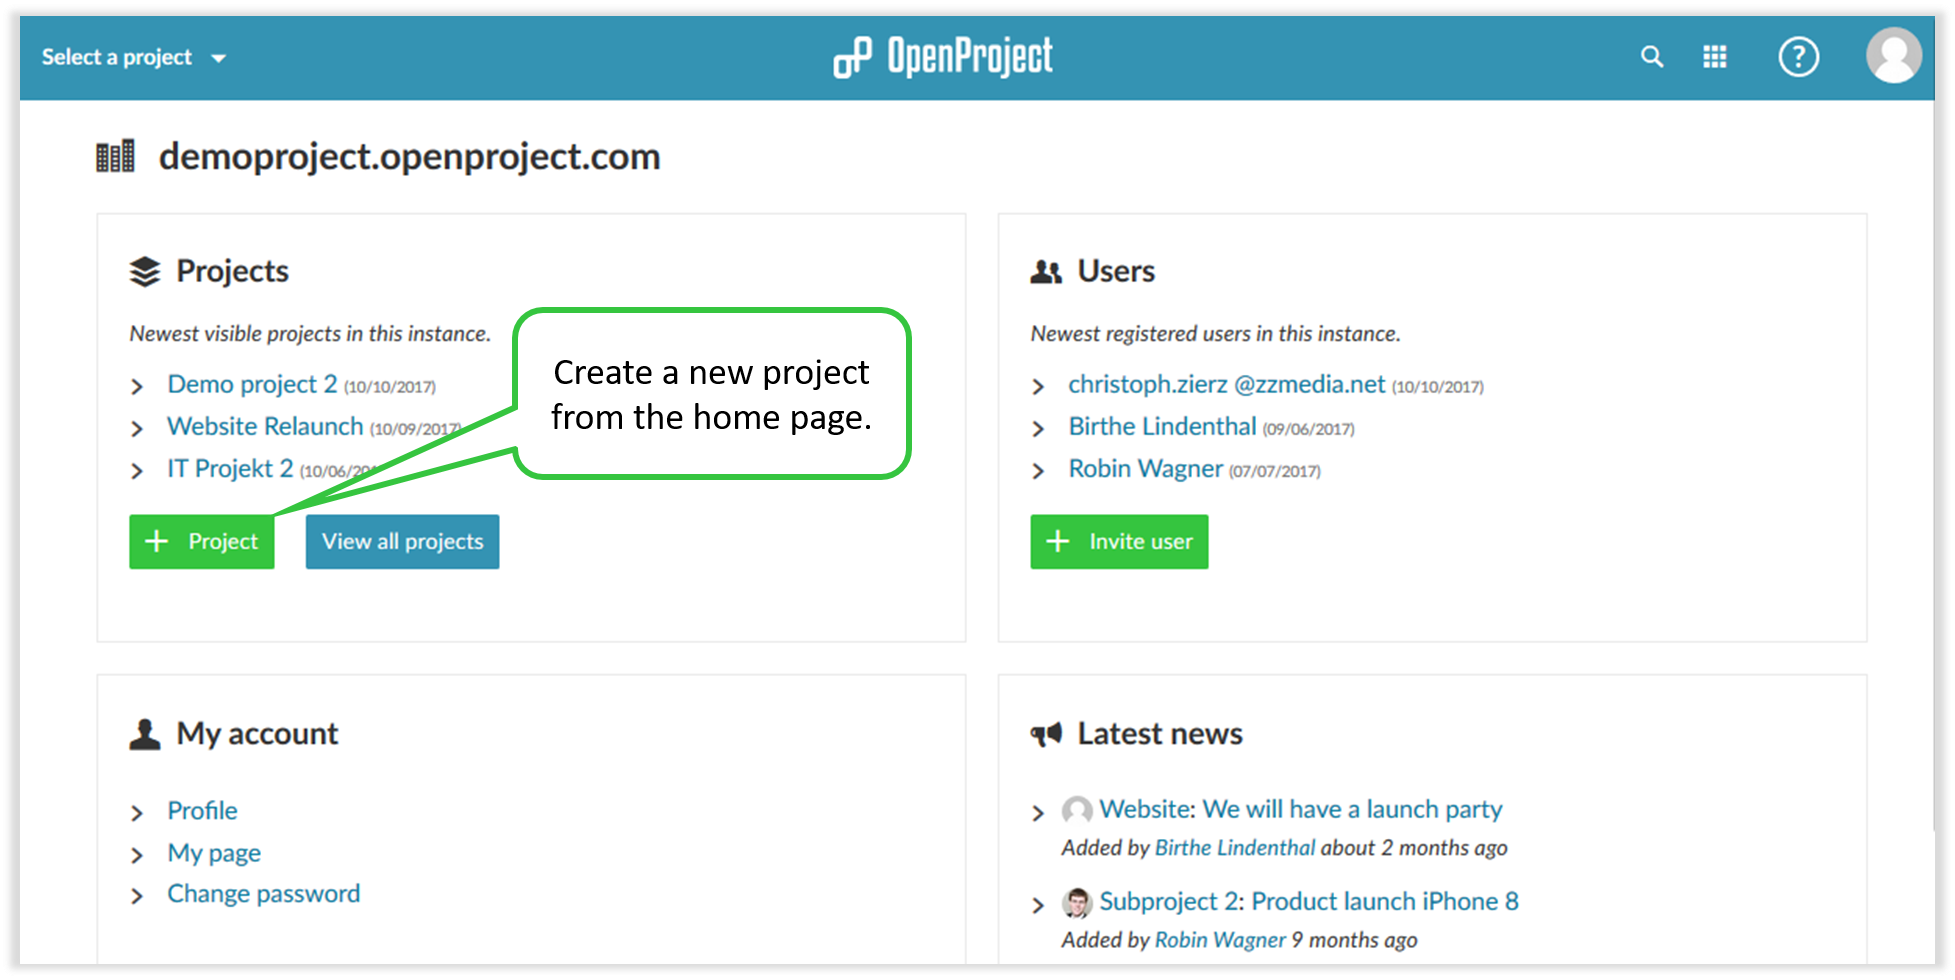
Create a new project in OpenProject directly from the home page.
2. Add members to your project
You can invite new members to a project via email. OpenProject includes a basic set of roles that you can customize. New users will get an email with login information; existing users can be added directly to a project.
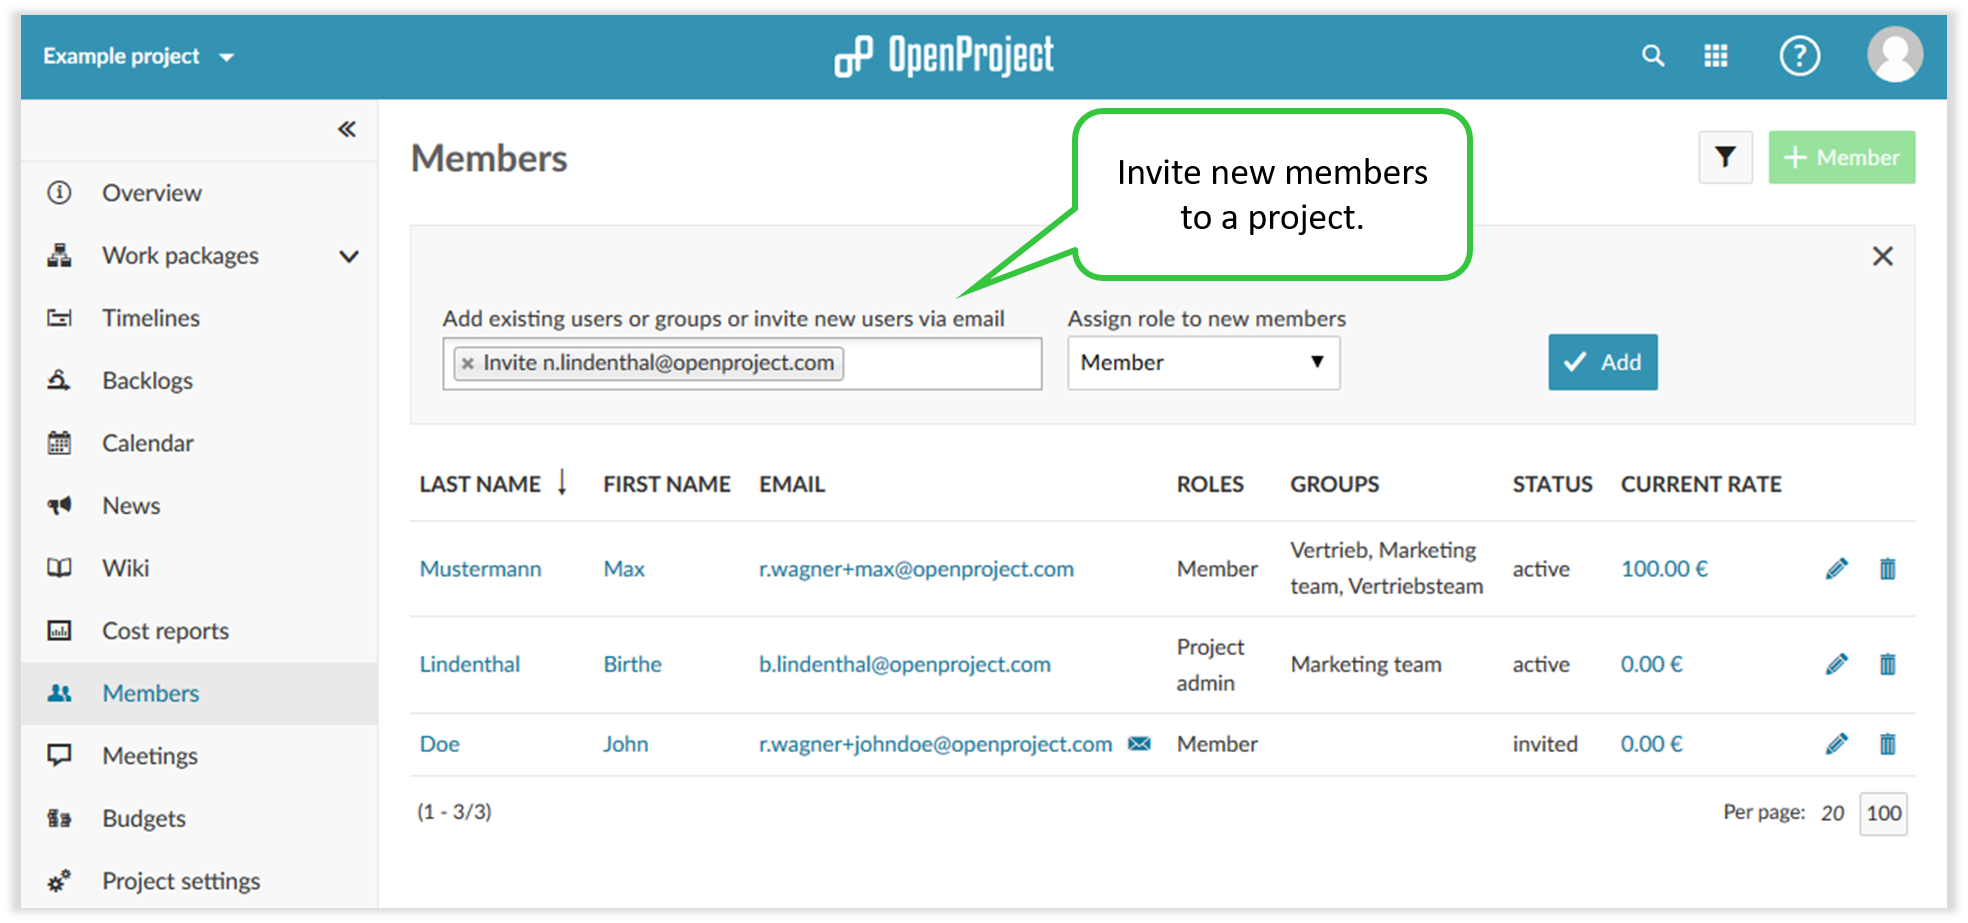
How to add new members to your OpenProject team
3. Create work packages (issues, bugs, features, tasks, etc.)
You can then start to add work packages within a project. These may include issues, tasks, features, bugs, or anything else you want to track. You can also create and edit new work packages directly inline in the list view, and add information or comments in the details view.
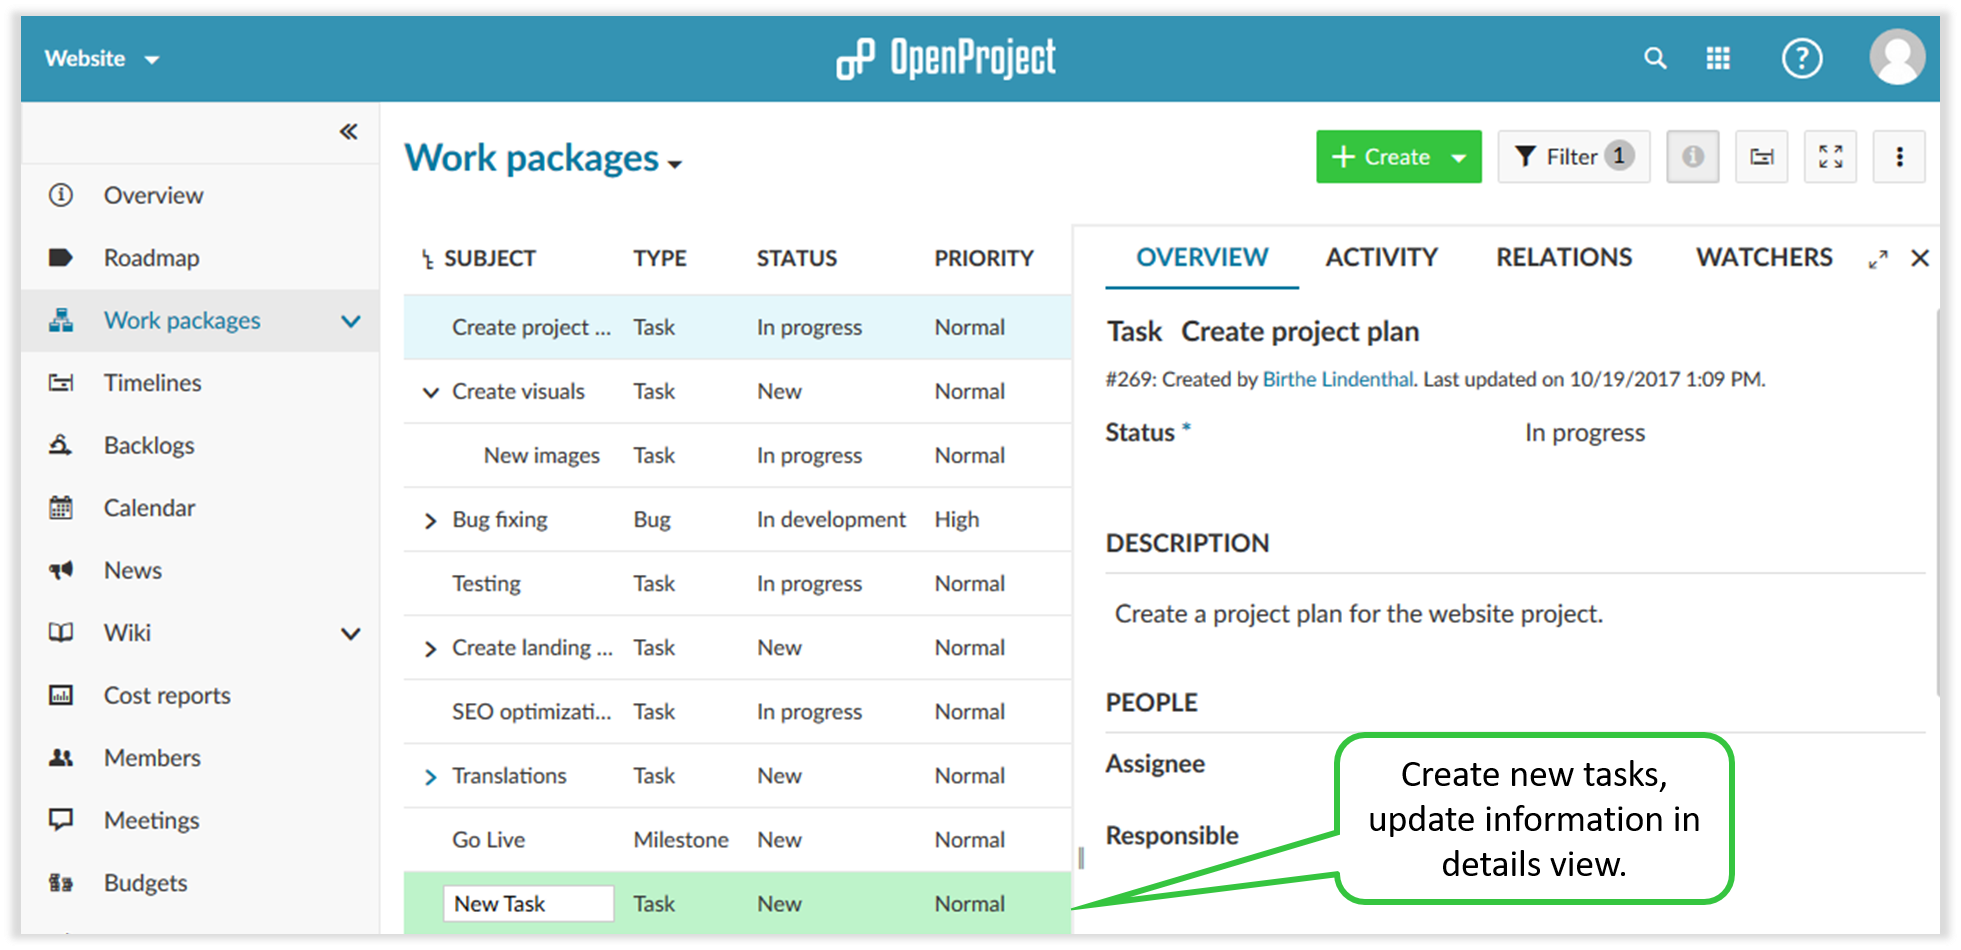
How to create and update work packages in OpenProject.
4. Create a project plan
Next, you can create and visualize your project plan with the interactive Gantt chart. The entire team can view and update information collaboratively. The Gantt chart can be activated within the work packages module and can be edited directly inline using drag-and-drop.
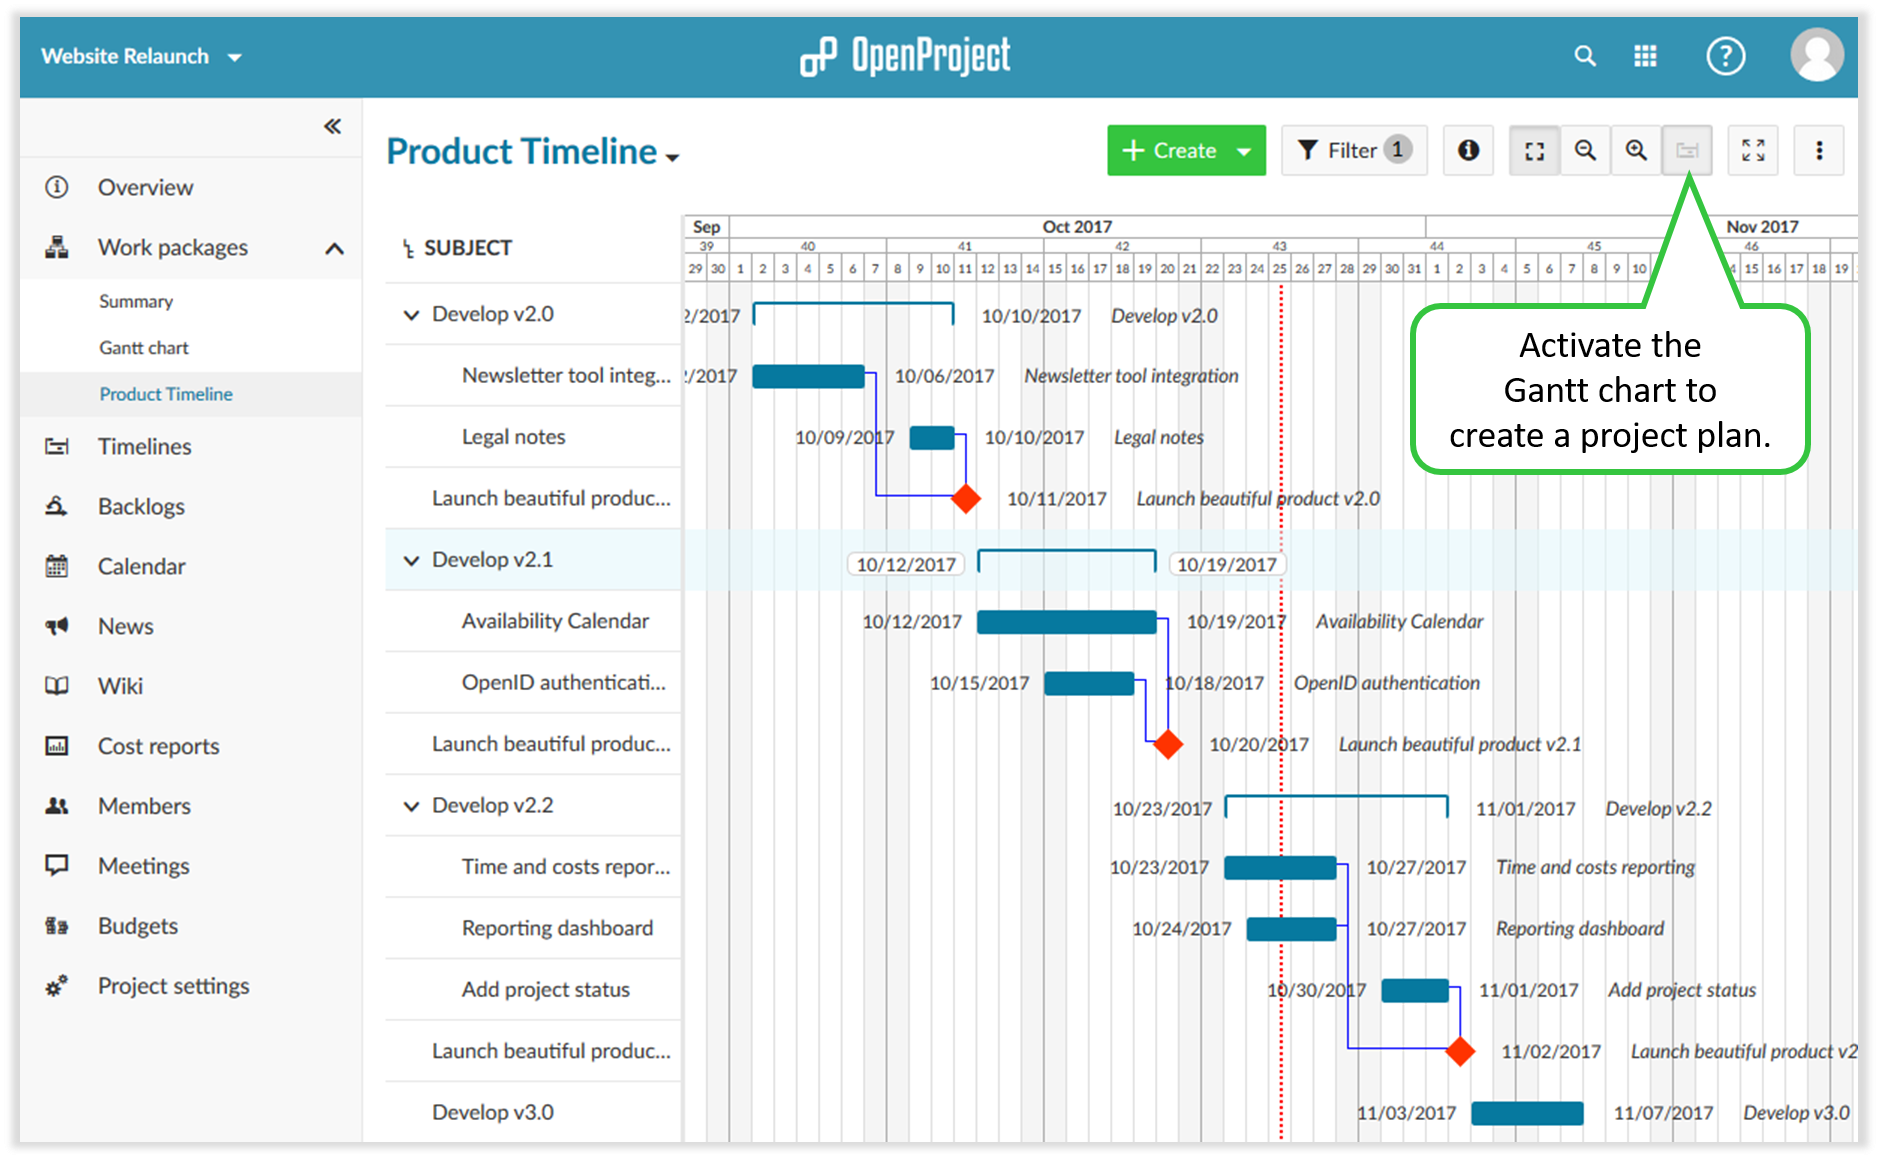
Visualize your OpenProject plan using a Gantt chart.
OpenProject includes many more functions, but these basics will enable you and your team to get started. For more information, OpenProject also offers detailed help resources and videos.
OpenProject is a Ruby-on-Rails application licensed under GPL V3. Download the Community Edition for free from openproject.org.







Comments are closed.