Are you a teacher, librarian, or homeschooler who's looking for a powerful, secure e-learning solution? MoodleBox may be the answer. Its small footprint on a Raspberry Pi makes it an affordable option with the strength and flexibility of Moodle, the de facto standard in open source learning management systems.
First released in 2002, the Moodle e-learning platform is under continuous development and currently boasts more than 89,000 registered sites worldwide, including colleges, military installations, high schools, and more. It is robust and secure and is guided by a social constructionist pedagogy, according to its website. Moodle’s functionality is supported by numerous plugins, and because it is open source, Moodle has no licensing fees. Typically, Moodle is housed in an on-campus file server or in a public cloud like Moodle.com. If you are new to Moodle, Learn Moodle is a great resource.
In addition to offering an affordable and powerful e-learning platform, MoodleBox can be internet-independent—a key advantage for users with limited or no internet access. MoodleBox can be accessed wirelessly via smartphone, tablet, or traditional PC.
MoodleBox runs Moodle version 3.3, offering a complete wireless solution with its own DHCP server and router. It requires a minimum 32-GB microSD card and a Raspberry Pi 3. (Since I already had a Raspberry Pi, it cost me only $12.99 for a 32-GB microSD card, but you shouldn't need to pay more than $65 or $70 for a complete unit.) MoodleBox can also operate “headlessly,” which means there's no need for input devices or displays.
To get started, I downloaded the disk image from the MoodleBox website and burned it onto the microSD card, inserted the memory card into the Raspberry Pi, and plugged it in. The initial startup took a few minutes, but shortly thereafter I saw “MoodleBox” as an available connection:
During setup, you should see Moodlebox as an available connection.
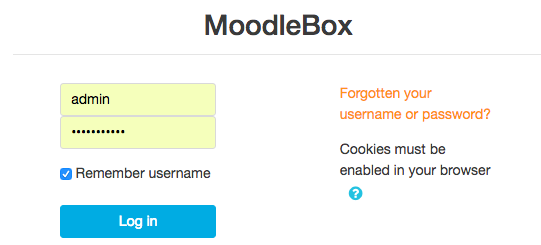
After choosing the MoodleBox network, I was prompted for a password: “moodlebox” (all lower-case). Then I pointed my browser at https://moodlebox.home/. Initial login as “admin” is straightforward, using the password “Moodlebox4$”. Soon I saw the familiar Moodle login screen:

The MoodleBox login screen
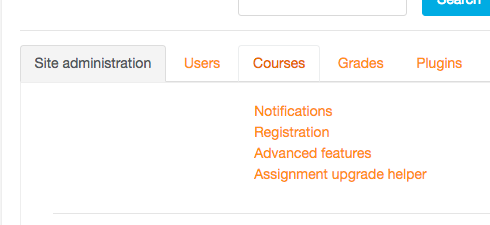
After logging in, I navigated the Site Administration page, created a student user account, and set up my first course. If you’re not ready to create your own course, or if you prefer to access a ready-made course, visit Moodle.net and download a course from the dozens available there. I chose “Python for Beginners” (the download file is “PFB1.mbz”). After downloading the file, I navigated back to “Site Administration” on the main page and selected “Courses:”

The Moodle site administration page
After “Courses”, I selected “Restore course:”

The Moodle courses page
In the “Restore course” section I was prompted to upload a backup file (backup files end with an “mbz” file extension; in my case, PFB1.mbz). Following the restore process, the course I downloaded from Moodle.net is restored. You can select a category for your course if you have created one, or let it reside in the default category “Miscellaneous.”
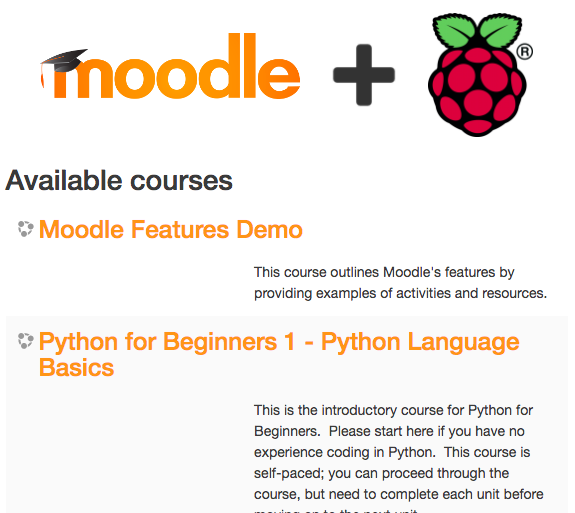
My MoodleBox site looked like this after I restored a couple of courses:

The MoodleBox available courses page
A full implementation of Moodle 3.3, MoodleBox can be set up for mobile users. You can connect to MoodleBox over SSH; however, I prefer the ease of the web interface. MoodleBox cautions users to shut the device down properly to avoid corrupting the database and the installation. To do that, simply go to https://moodlebox.home/admin/tool/moodlebox/index.php, scroll to the bottom of the page, and select “Shutdown MoodleBox:”

The MoodleBox save and shut down page
In the administrative console, you can change the SSID and WiFi channel for your MoodleBox, and the WPA2 password. Administrators can change the time and login credentials, including administrative passwords.
MoodleBox offers excellent documentation should you need it. The project’s lead developer is Nicolas Martignoni; the complete project code is available under GPL 3 and Creative Commons 4.0. To support the MoodleBox project, visit here.
To update MoodleBox with the newest versions of Moodle, follow the instructions detailed on the update page.


Comments are closed.