A handy utility for creating Raspberry Pi SD card images

Getting started with Raspberry Pi Imager on a Mac.
123 readers like this.
Raspberries with pi symbol overlay

Dwight Sipler on Flickr

There are many ways to buy a Raspberry Pi, and depending on who you buy it from, it may or may not come with an operating system already installed on it. Getting an OS onto a Raspberry Pi is a matter of "flashing" an SD card with an OS image. To make this as easy as possible, the Raspberry Pi Foundation has introduced a Raspberry Pi Imager application, and you can download it for all major platforms. Here's a quick intro to this helpful new utility.

Install the Imager

You can find the Raspberry Pi Imager over at the usual Raspberry Pi Downloads page. Versions exist for Mac, Ubuntu, and Windows. I will download and demonstrate the Mac version.

Installation on Mac consists of the usual DMG image that mounts to your desktop, and then a typical installer window appears:

Raspberry Pi Imager installer

Simply drag the cute raspberry icon to the Application folder, and you are done. Invoke that from Launchpad, and you are presented with a series of simple buttons and menus to choose from. It really cannot be simpler than this:
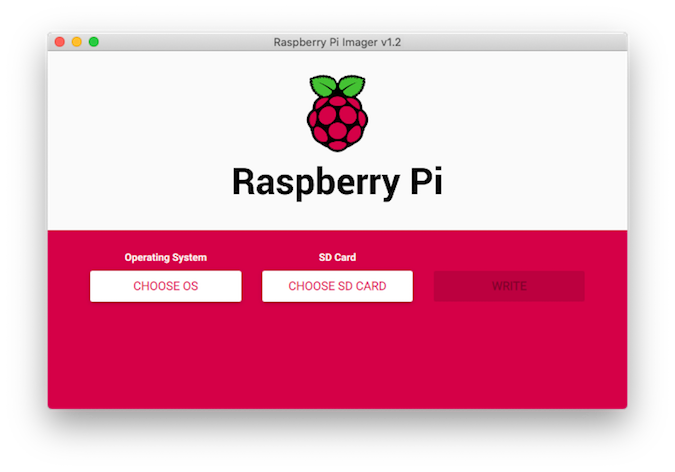
Raspberry Pi Imager home screen

Images and options available

The default options contain a variety of images for various Raspberry Pi models. Raspbian is the top choice with two available options for smaller "Lite" and fatter "Full" versions available. The LibreELEC Kodi entertainment system is available in various model-specific builds. Ubuntu 18 and 19 have 32-bit and 64-bit builds available for different Pi models. There is an RPi 4 EEPROM recovery utility and a function to format your card using FAT32. Finally, a generic image installer option is available that I will try out a little later. Pretty handy for a simple and compact utility.

Install some images

I had a 16g micro SD card that I decided to play with. I selected the default Raspbian image, chose my attached USB/SD device, and pressed WRITE. Here is a brief demo:
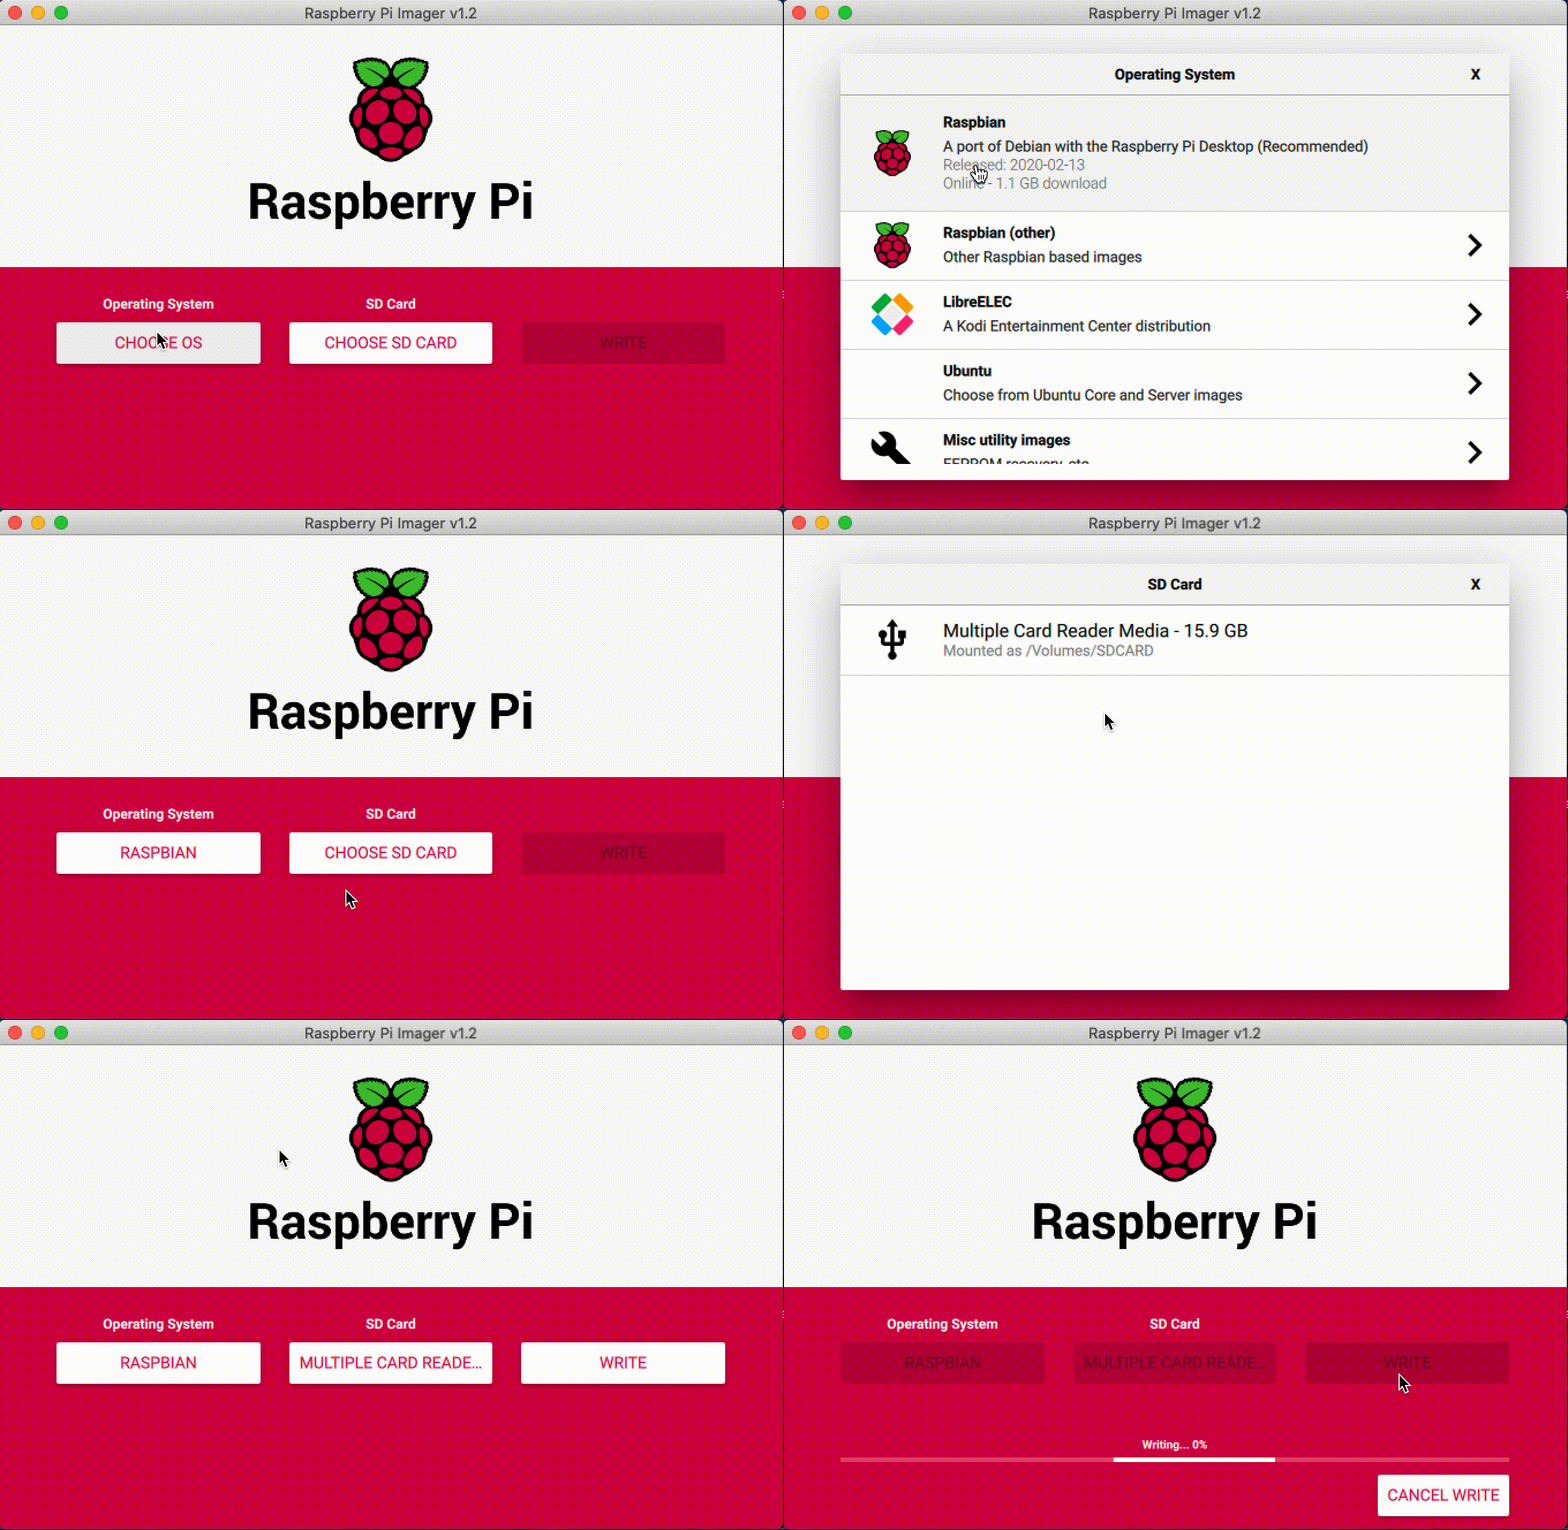
Raspberry Pi Imager demo

I didn't post the entire sequence there. I believe it downloaded the image as it was writing and took a few minutes on my wireless connection to finish. The process goes through a write and then a verify cycle before it is finished. When it was done, I ejected the device, popped the card into my RPi 3, and was treated to the usual graphical Raspbian setup wizard and desktop environment.

That wasn't quite enough for me; I get plenty of Linux on a daily basis and was looking for a little more today. I went back to the Raspberry Pi Downloads page and pulled down the RISC OS image. This process was nearly as easy. Download the RISCOSPi.5.24.zip file, extract it, and find the ro524-1875M.img file. From the Operating System button, I selected the Use Custom option and selected the desired image file. The process was pretty much the same; the only real difference being I had to hunt around my Downloads directory and select an image. Once the file was finished writing, back into the Pi 3, and RISC OS was ready to go.

Gripes on USB C

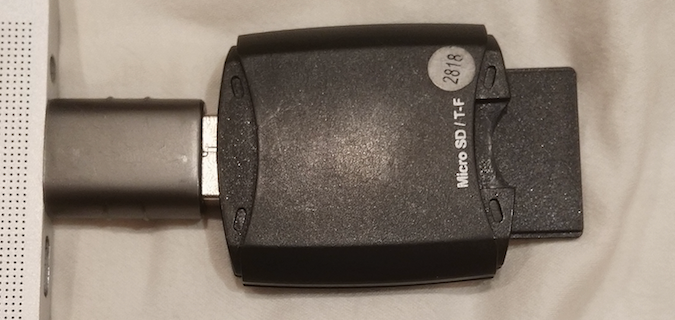
This is just a silly aside, but how many of you are a bit frustrated with the total inconvenience of USB C these days? I'm using a MacBook Pro, which only has USB C ports, and I am subject to a never-ending swap of adapters to get things done. Take a look at this:
USB C adapter

Yes, that is a USB C to USB A adapter, then a USB to SD card reader, and an SD to micro SD adapter inside. I probably could have found something online to simplify this, but these are the parts I had on hand to support my family's myriad Mac, Windows, and Linux hosts. Enough about that, but I hope you got a chuckle from that insanity.

Summary

The new Raspberry Pi Imager is a simple and effective tool for getting off the ground quickly with Raspberry Pi images. BalenaEtcher is a similar tool for imaging your removable devices, but this new Raspberry Pi Imager makes the process of common RPi OS installations (like Raspbian) a bit easier by eliminating the steps to fetch those common images.

What to read next
James Farrell
I am a long time UNIX system administrator and open source advocate. In recent years my primary focus as been on Linux & FreeBSD systems administration, networking, telecom, and SAN/storage management. I love building infrastructure, tying systems together, creating processes, and bringing people together in support of their technical efforts.

11 Comments

Thank you for so very helpful article. It suddenly occurrs, can you describe the process of creating a custom image and making it usable to these utilities?

For some, this can help solve the use case of making a batch of the same custom pi configuration, for example to set the WiFi set up correctly.

Happy to collaborate.

Hmm, I'll think about it ... see what I can do. I tried a little work in this area some time ago, I ended up doing a lot of config & manual work directly on my Pi, and then using another computer to pull the image off for use on other SD cards. But I don't recall that was straightforward. What many of the distros do with their images is a minimal partition install which is then automatically grown to fill the size of the provided SD card. One might have to start something like this using an existing image (like raspian) as compiling the ppc kernel and managing the boot loader are probably beyond what most people want to get involved with.

Thanks for the comment ... I'll think about if there is some way I could try this with and existing distro.

In reply to by dixon1e

Your gripes with USB C is a consequence of using a Mac, welcome to the dongle life.
Strange how apple are the only ones now not to use it on there phones but use it exclusively on there laptops

I know ... it is a pain. Sometimes you can get a dedicated USB-C cable for your device, but often times I end up with loads of little adapters that I lose and then replace. The previous Mac I had with the built-in SD card slot was a lot more convenient.

Docking stations are a whole 'nother issue unless you are happy paying apples very high prices.

In reply to by Andrew Henderson (not verified)

Personally, I prefer (and use) BalenaEtcher.

I used that for a while and still like it. I also used to "dd" the images directly to the detected device. For someone who's only interested in getting their Pi to work for the first time, I think the simplicity of selecting what you want and having the tool to everything else is very nice.

In reply to by Philip (not verified)

Thanks for share

Thanks for share

Couple of years ago, my company forced me to refresh my laptop, which was an upgrade :( to a USB-C only MacBook Pro. No magnetic power plug, no USB-2, no HDMI, no SD Card reader ...

My phrase is always: Do you really believe that Samsung and LG will stop with HDMI in the next ten years? And do you think Nikon, Canon and Sony will get rid of SD cards in their camera's? 'Nough said ...

I got so frustrated by all the dongles, that I quickly forked out some of my own dough to get me my own MacPro-2013 (by then 2nd hand) that still has all those features.

Apple doesn't want to standardize, they love to sell dongles. It's simply corporate greed !!

Hello, I am a beginner in the Raspberry Pi world. I just bought a Raspberry Pi 3 Model B and a 64gb sd card. I am quite confused that some of the websites said that we need to format the sd card into FAT32, then can install Raspbian from the imager. While on the other hand, I also found some websites that said we don't need to format the sd card if we were to use etcher. I am genuinely confused, so it would be a great help if you could give a response to this question of mine. :-)

I believe most of the utilities to get OS's to the SD card completely wipe them. With the raspberry pi imager, just use your card as-is, the selected image should just copy over with no other setup.

Let me know how it goes! I am sure you will have fun with it.

In reply to by Nur (not verified)

Creative Commons LicenseThis work is licensed under a Creative Commons Attribution-Share Alike 4.0 International License.