Scratch is a popular visual programming language for creating video games and animations. It also features a vector drawing tool that anyone can use to create unique game assets and art.
Scratch 1.0 was written in Smalltalk, an extremely hackable programming language that allowed users to peek behind the scenes of the software. It was popular across platforms and was even forked by the Raspberry Pi Foundation for extended support.
Scratch 3.0 has been rewritten from the ground up. It's based on HTML5 and JavaScript, meaning it runs just as well on a tablet or mobile phone as on a laptop or desktop.
What are vectors?
Vector drawing is different than drawing with a regular paint app. Vector images look smooth no matter how far you zoom in or out. There is no pixelation. Vectors create a smooth and finished product at any size.
In Scratch, the playable characters in a game are called sprites. Scratch has a library of pre-made sprites that can be used for projects, but you can also draw your own using the built-in paint program or the built-in vector app.
How to eat an elephant
No drawing skills are necessary to draw with vectors. Instead of drawing an object in one go, break it up into individual shapes. Look for circles, ovals, triangles, and rectangles. It can be helpful to use photos or a live model of the object you are drawing.
I'll demonstrate all the main points of drawing a vector sprite in Scratch by explaining how to draw an apple, but you can apply this method to any object you want to create.
Drawing tools
Scratch's vector drawing toolbox is where you find the tools you need to draw objects:
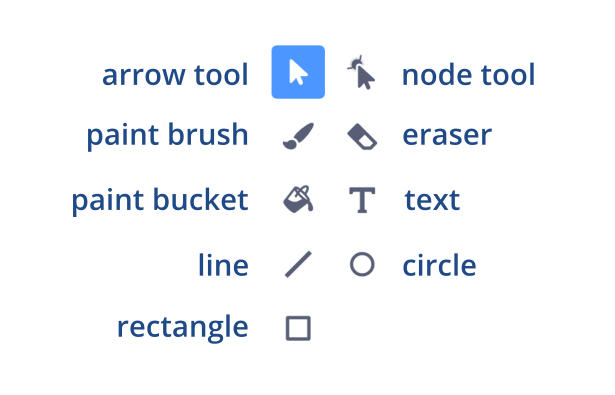
And here is some of the vocabulary associated with drawing vector graphics:
- Canvas: Where you draw; the white and gray checkerboard is transparent
- Node: A point along the path of an object that determines the object's shape
- Object: A circle, square, or line on the canvas
- Arrow tool: Grab, resize, and rotate objects with this tool
- Node tool: Add, move, and select nodes with this tool
Getting started
To start drawing, open a web browser and navigate to Scratch.mit.edu. If you are using Scratch Desktop, open the application.
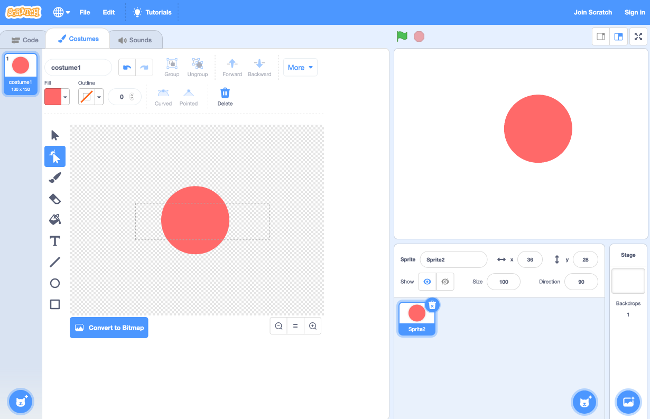
To open a new project, select Create from the top menu. To open Scratch's vector drawing app, click on the blue Scratch Cat icon, then select the Paintbrush icon. This will create a new sprite canvas.
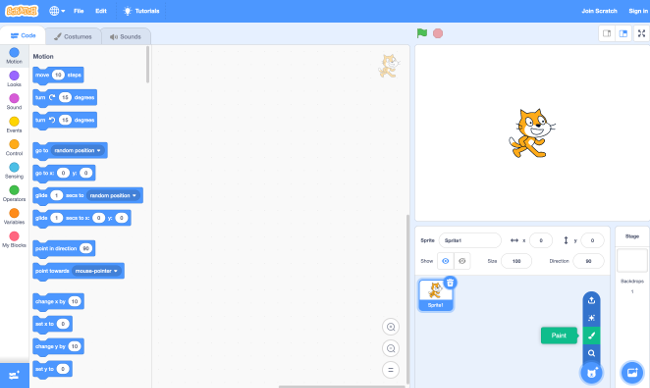
There are two ways to create a custom sprite:
- To create an entirely new sprite, use and combine any of the drawing tools in the toolbox.
- To change the look of an existing sprite, click on the sprite's icon in the lower-right to make it active, then click the Arrow tool in the toolbox, click on the sprite on the canvas, and make the changes you want.
A word of warning: If you click the Convert to Bitmap button at the bottom of the drawing screen, your illustration will turn into a pixelated bitmap image and you will not be able to restore it to a vector.
Draw the apple shape
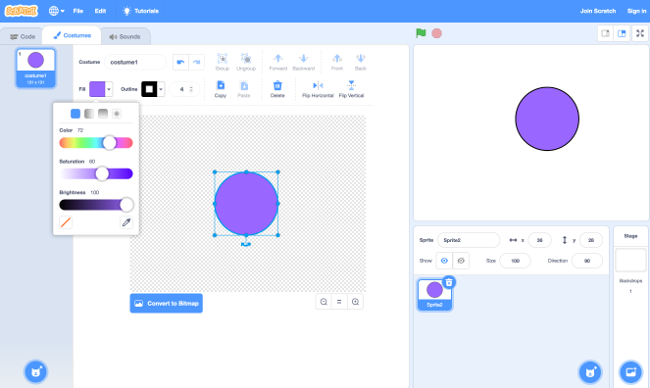
- Select an empty sprite canvas, then select the Circle tool. Create a circle by clicking on the empty canvas and dragging your mouse. Pressing the Shift key as you do this creates a perfect circle.
- To change the color of the circle, select the Arrow tool, click on the circle to select it, and click the drop-down menu under Fill. This opens options for changing the color, saturation, and brightness of the shape.
– If you want a shape to be see-through, select the white box with the diagonal red line to set the color to "none."
– If you want to add or remove a colored border around your object, select the drop-down menu under Outline.
- Select the Node tool. Click the center of your object to select it. You will see four nodes evenly spaced around the edge of the circle.
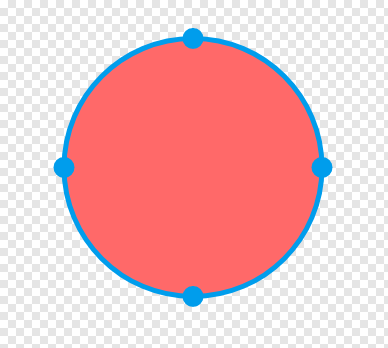
Moving any of the nodes will change the circle's shape. You can add more nodes by clicking the circle's edge. If you move a node too much or add a node by accident, you can undo your last step by clicking the back-arrow icon towards the top of the screen. You can also undo by pressing Ctrl+Z. - Apples are usually smaller on the bottom than the top. Click and drag across the two side nodes to select them. Nodes turn blue when they are selected.
With the nodes selected, press the Up arrow on your keyboard to move the nodes towards the top of the circle.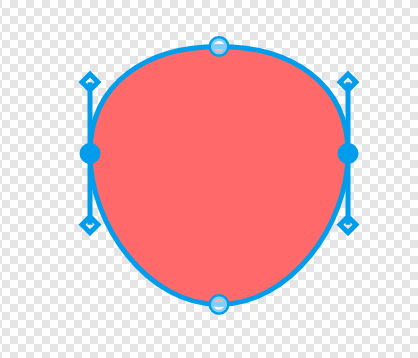
- Add two nodes towards the bottom of the circle—one on the left of the original bottom node, the other on the right. Raise the original bottom-center node slightly up to create an indent.
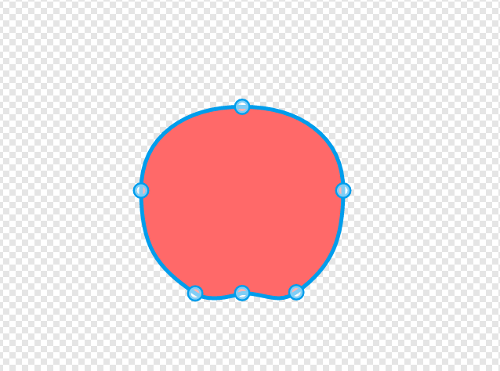
- Now add two nodes towards the top of the circle in a similar way. Lower the original top-center node slightly down to create an indent.
- Continue adjusting and adding nodes until you are happy with the apple shape.
Draw the stem
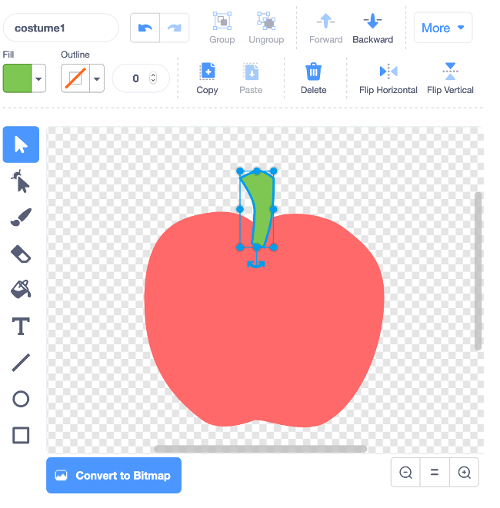
- Select the Rectangle tool. Create a long, thin rectangle on the canvas where you want the stem to be.
- Use the Node tool to shape the rectangle so it resembles a stem. Change the fill to your desired color.
- Select the stem using the Arrow tool. To move the stem behind the apple, click the Backward button above the canvas.
Add the highlight shape
- Select the Line tool. Draw a triangle on the apple shape by connecting each new line with the end of the previous one. This will turn the lines into a complete shape.
- Select the triangle with the Arrow tool and change it to a lighter color, such as white, using the Fill tool.
- Add and adjust nodes with the Node tool to create a highlight shape. If the nodes are too sharp and pointed, you can change them to curved. Select the node(s) you want to curve, then click the Curved button.
– Pro-tip: To select more than one node at a time, click press Shift while selecting each node.
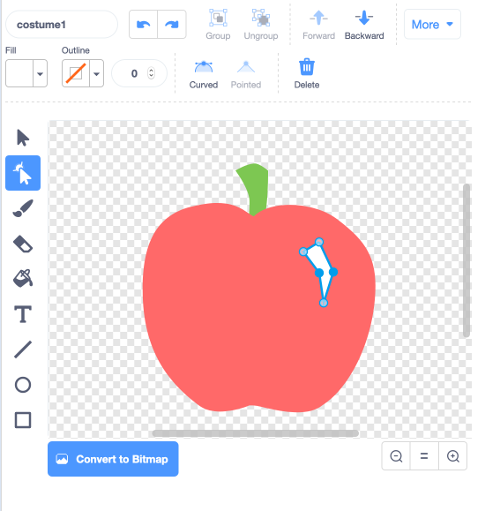
And just like that, you've drawn an apple that's infinitely scalable.
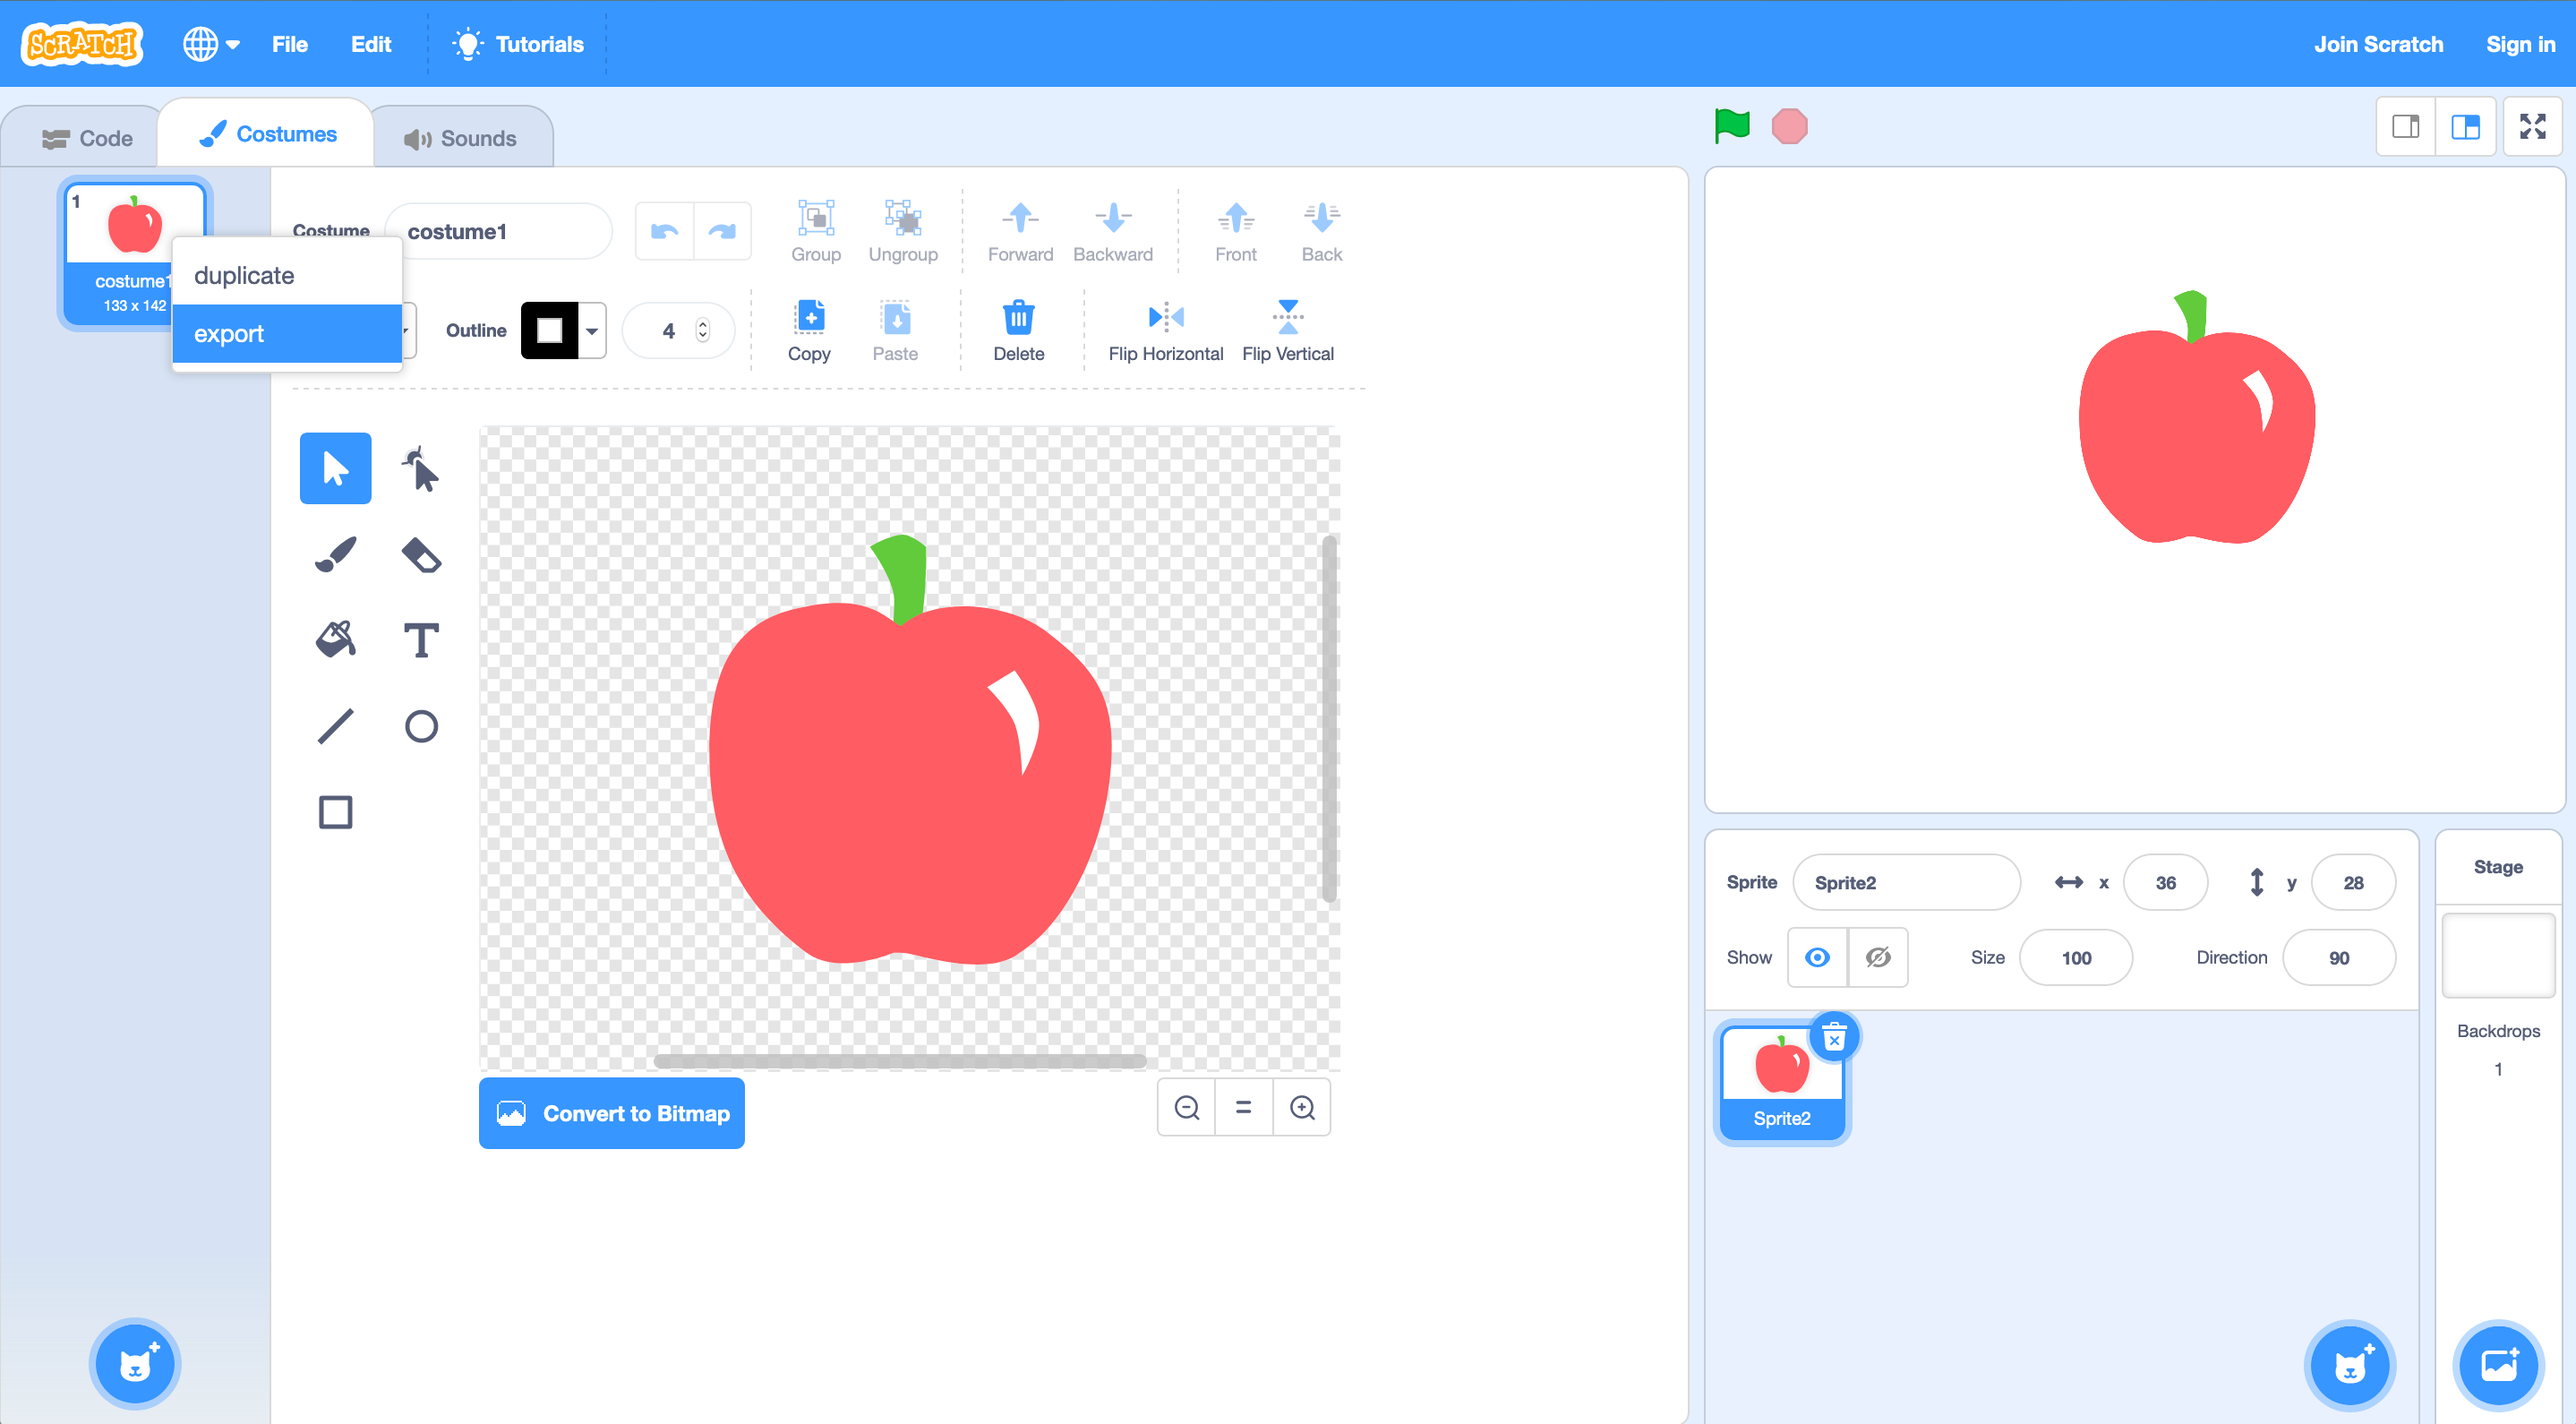
If you want to use your image outside of Scratch, right click on the costume thumbnail and select export. This will download your drawing as a .svg file.
opensource.com
To use the image in a Scratch project, return to the code tab. Your new sprite will appear in the right corner with the rest of the project’s sprites. Use it in your Scratch project, share it with other Scratch users on the Scratch website, and above all—draw more cool stuff with vectors.



9 Comments