I am a fan of retro gaming and preserving the computer history that lead us to where we are today. I think most programmers have a machine that helped develop their love for programming; for me that was the Commodore Amiga. I am currently restoring a couple of Amigas to get them back to working order. This will take me some time, but I wanted something I could get up and running quickly so I can play with the OS and finish a couple of games I never completed as a kid.
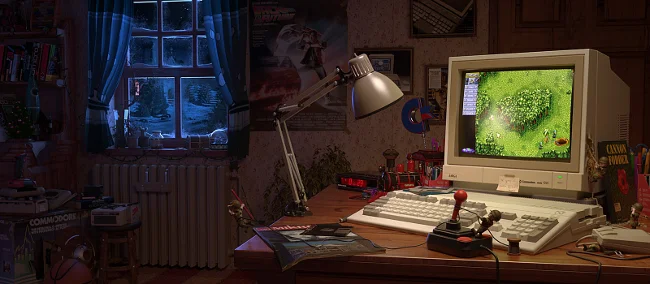
16-bit memories, ©Toni Bratincevic, used with permission by the creator.
When I started working at Red Hat, I found a passionate community around retro systems and especially the Amiga. We have a breakout room in our head office dedicated to old systems, and my fellow Red Hatters have donated games and consoles to it.
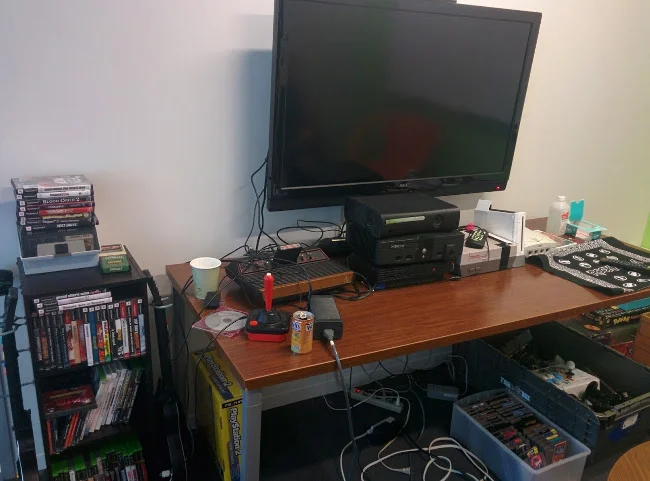
Can I put an Amiga on that?
As a Linux fan, I often find myself looking at some obscure bit of hardware and thinking, "I wonder if I can use it with Linux?" or more often, "I wonder if I can put Linux on that?" I blame my youth of playing adventure games and solving puzzles for that mentality. Recently, I thought, "I wonder if I can put an Amiga emulator on that?" This article is the result of a weekend spent doing just that. It is by no means a complete guide to all things you can do with emulation for the Amiga, but it should be a good start to get you going. I'll provide links to all the software and go over some of the things I learned on my retro weekend, as well as some guides to take it to the next step.
Here are the devices I got Amiga emulation to run on:
- Lenovo 500e Chromebook
- Nexus 7
- Raspberry Pi
- Samsung Galaxy Tab 10
- Ubuntu PC
- Windows PC
Amiga emulators
UAE is an open source emulator released in 1995. The acronym initially stood for Unusable Amiga Emulator, but now it's generally called Universal Amiga Emulator, Ultimate Amiga Emulator, or Ubiquitous Amiga Emulator. Or more simply, UAE. Most of the emulators for Android, Linux, Chrome, MacOS, and Windows are ports or forks from this project or grew from the emulation community. I also use UAE on my Chromebook, which supports Android apps, to emulate my Amiga.
| Name | Platform | Download | Source |
|---|---|---|---|
| FS-UAE | Windows, Mac, Linux | Download | Source |
| WinFellow | Windows | Download | Source |
| WinUAE | Windows | Download | Source |
| Amiga Forever Essentials | Android | Download | |
| UAE4Droid | Android | Download | Source |
| Uae4all2 | Android | Download | Source |
| Uae4arm | Android | Download | Source |
I prefer FS-UAE, which is available on a number of platforms. On Crostini (Linux on Chromebook) or Ubuntu, you can install it with the command:
sudo apt-get install fs-uae fs-uae-arcade fs-uae-launcherA caveat on Chromebooks and Crostini: Chromebooks don't yet support audio on Linux apps, but it is a feature that's coming in ChromeOS 74. I prefer Linux-based emulators, so I am using the Amiga Forever Essentials Android app for now. I also have the Linux app installed, ready for when audio and GPU acceleration for Linux apps become available.
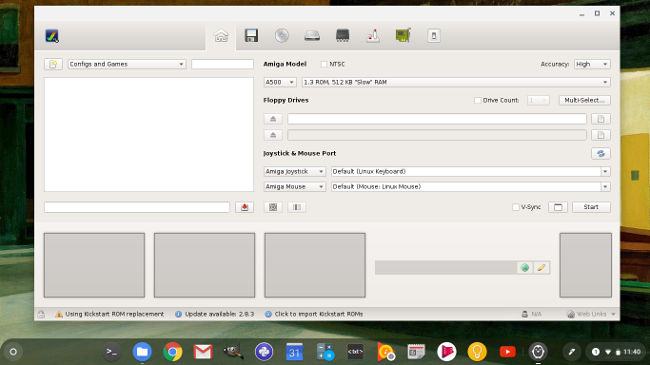
Chromebook running FS-UAE
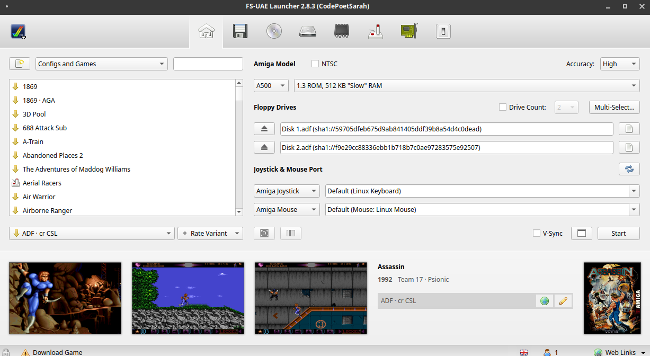
Ubuntu running FS-UAE
Amiga kickstarts
All the emulators I used are open source. However, in order to run any Amiga software, you need a kickstart ROM that is copyrighted and only available under license. You can buy one from Cloanto and they are bundled with Amiga Forever. To get up and running quickly, you can buy the Android app Amiga Forever Essentials, which was only $1.99 when I wrote this. If you are an Amiga fan, it's worth buying Amiga Forever, as it contains a wealth of demos, games, and pre-configured systems and has everything you could want to emulate a complete system.
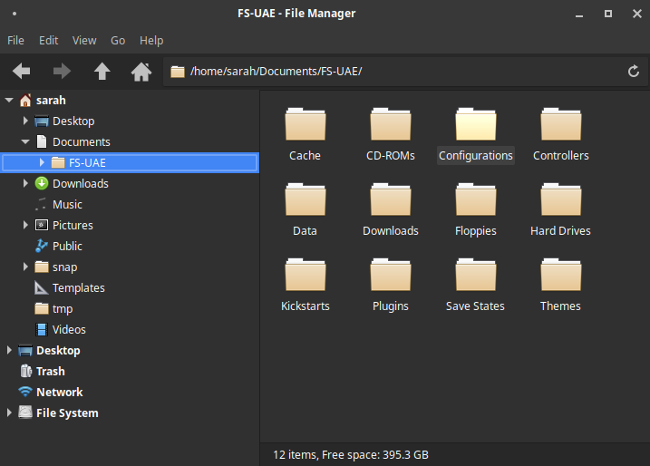
The FS-UAE emulator can scan for your install CD of Amiga Forever and automatically copy the kickstart ROMs to their own configuration folder. On my Ubuntu desktop, FS-UAE creates configuration folders under Documents.
Amiga on Android and Chromebooks
Setting up the emulator on my Samsung Tab 10, Nexus 7, and Chromebook was straightforward. There are a number of emulators for Android, and if you buy the Amiga Forever Essentials app, it will install the commercial kickstart ROMs to a shared folder that the emulators can access. Just download an emulator and you are ready to start configuring your system.
The Amiga Forever Essentials app works on Android with the UAE4Droid and Uae4arm emulators (I prefer Uae4arm). One advantage of emulating the Amiga on Android is controller support. I use my 8bitdo controller on my tablet and it works with no fuss. 8bitdo works well on RetroPie but can be unreliable through Bluetooth on the Amiga distros Amibian and DietPi. I prefer a controller with a dongle or wire, as it minimizes lag and works every time.
Amiga on Raspberry Pi
For the Raspberry Pi, there are two dedicated distros for Amiga: Amiberry, running on DietPi, and Amibian. Or you can install your emulator of choice from the standard Raspbian repo; you are not limited to either of these options. Configuration is almost identical on both. I tried both, and my preference is Amibian, for no other reasons than it's closer to Raspbian, I am more comfortable with it, and configuration is well thought out. Both distros are very lean and don't contain a lot of packages to "bloat" the installation. They generally use SDL to run with no need for a window manager or running an X Window session. They are fast to boot and lean on resources. Perfect!
Hardware
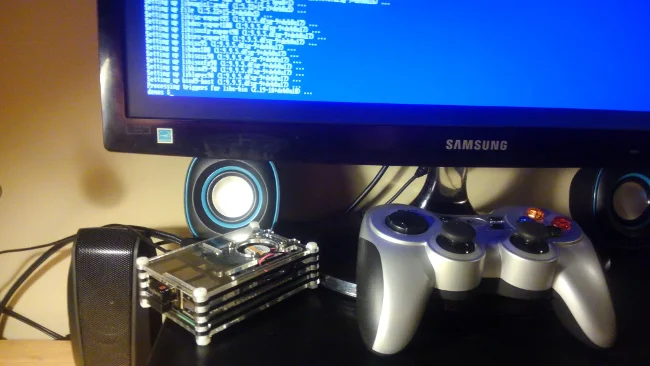
- Raspberry Pi 3B+
- Logitech F71 gamepad (I think a dongle is easier than Bluetooth on RetroPie)
- Smraza Case
- HDMI & USB cables
- Speakers
- MicroSD Card (I used a 32GB Samsung MicroSD)
- Flash drive (optional)
- Keyboard
- Mouse or trackball
Getting started
The first step is installing Amibian. Download the disk image from the Amibian website—click Download from the menu and save the file to your machine.
Now, flash this image to the MicroSD card. The easiest way is to use Etcher, which is available on Linux, Windows, and MacOS.
- Download and install Etcher
- Put your MicroSD card into your machine
- Start Etcher
- Select the unzipped image file you downloaded from Amibian
- Select your MicroSD card
- Click the Flash button
This will flash the MicroSD card with the Amibian image. I use a USB card reader so I can plug it in as a normal flash drive.
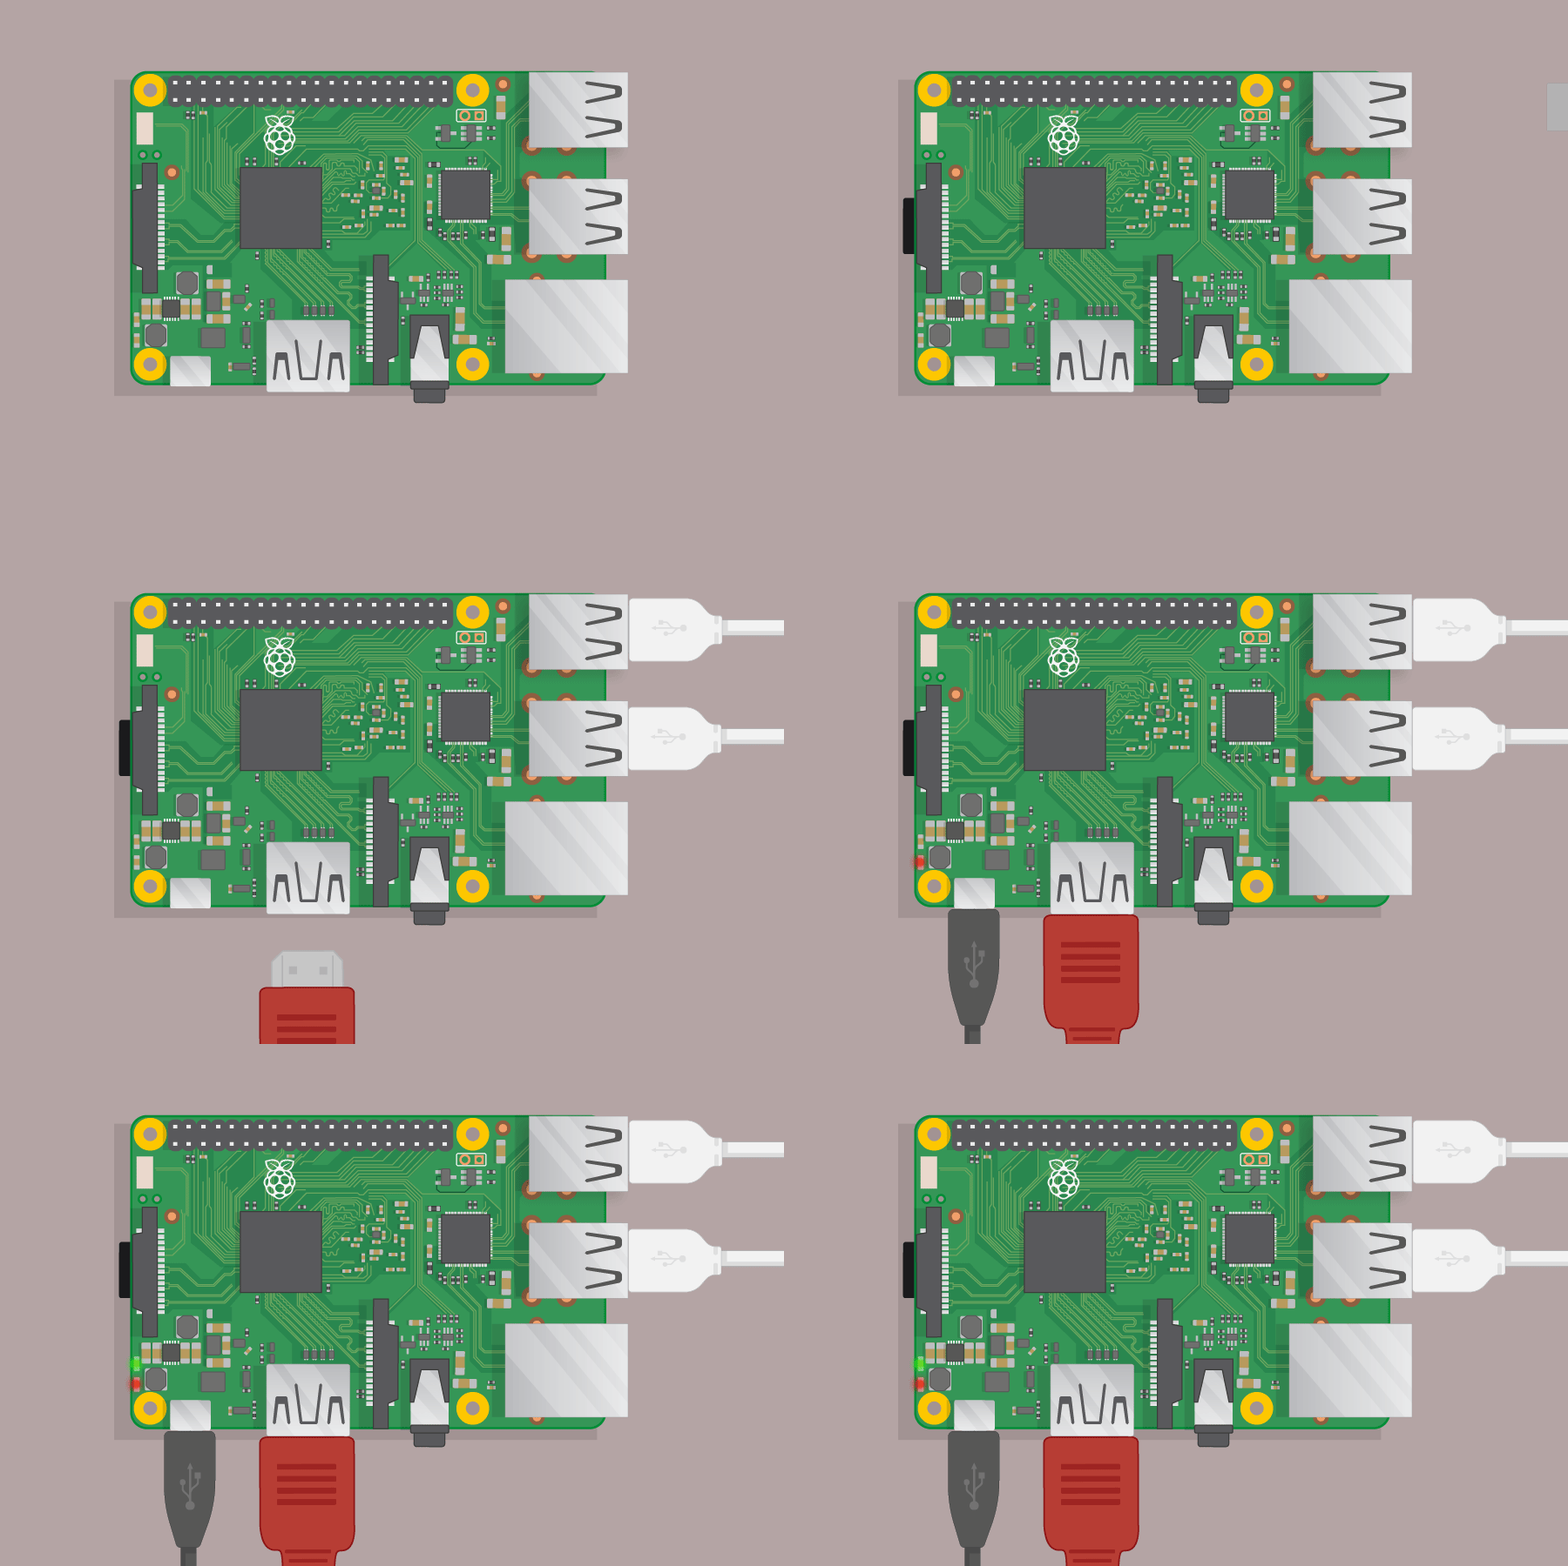
Put your Raspberry Pi together and insert the MicroSD card. Then power it up!
Initial setup
Next, expand the filesystem to use the entire MicroSD card. Click the Quit button and drop back to a command prompt.
Since you are logged in as root, open the Raspbian config tool:
raspi-config

Must-do changes:
- Go to the Advanced Options menu
- Choose Expand Filesystem
Optional quality-of-life changes
- Set up your wireless network by following this guide from the Raspberry Pi Foundation
- Enable SSH in Network Options » SSH, as this is handy for adding files to your Pi using an SFTP client such as FileZilla
- In Localization options, change your localization and keyboard layout if needed; the default is the UK (Great Britain)
- Update to the latest version, always a good thing to do
Configure the emulator
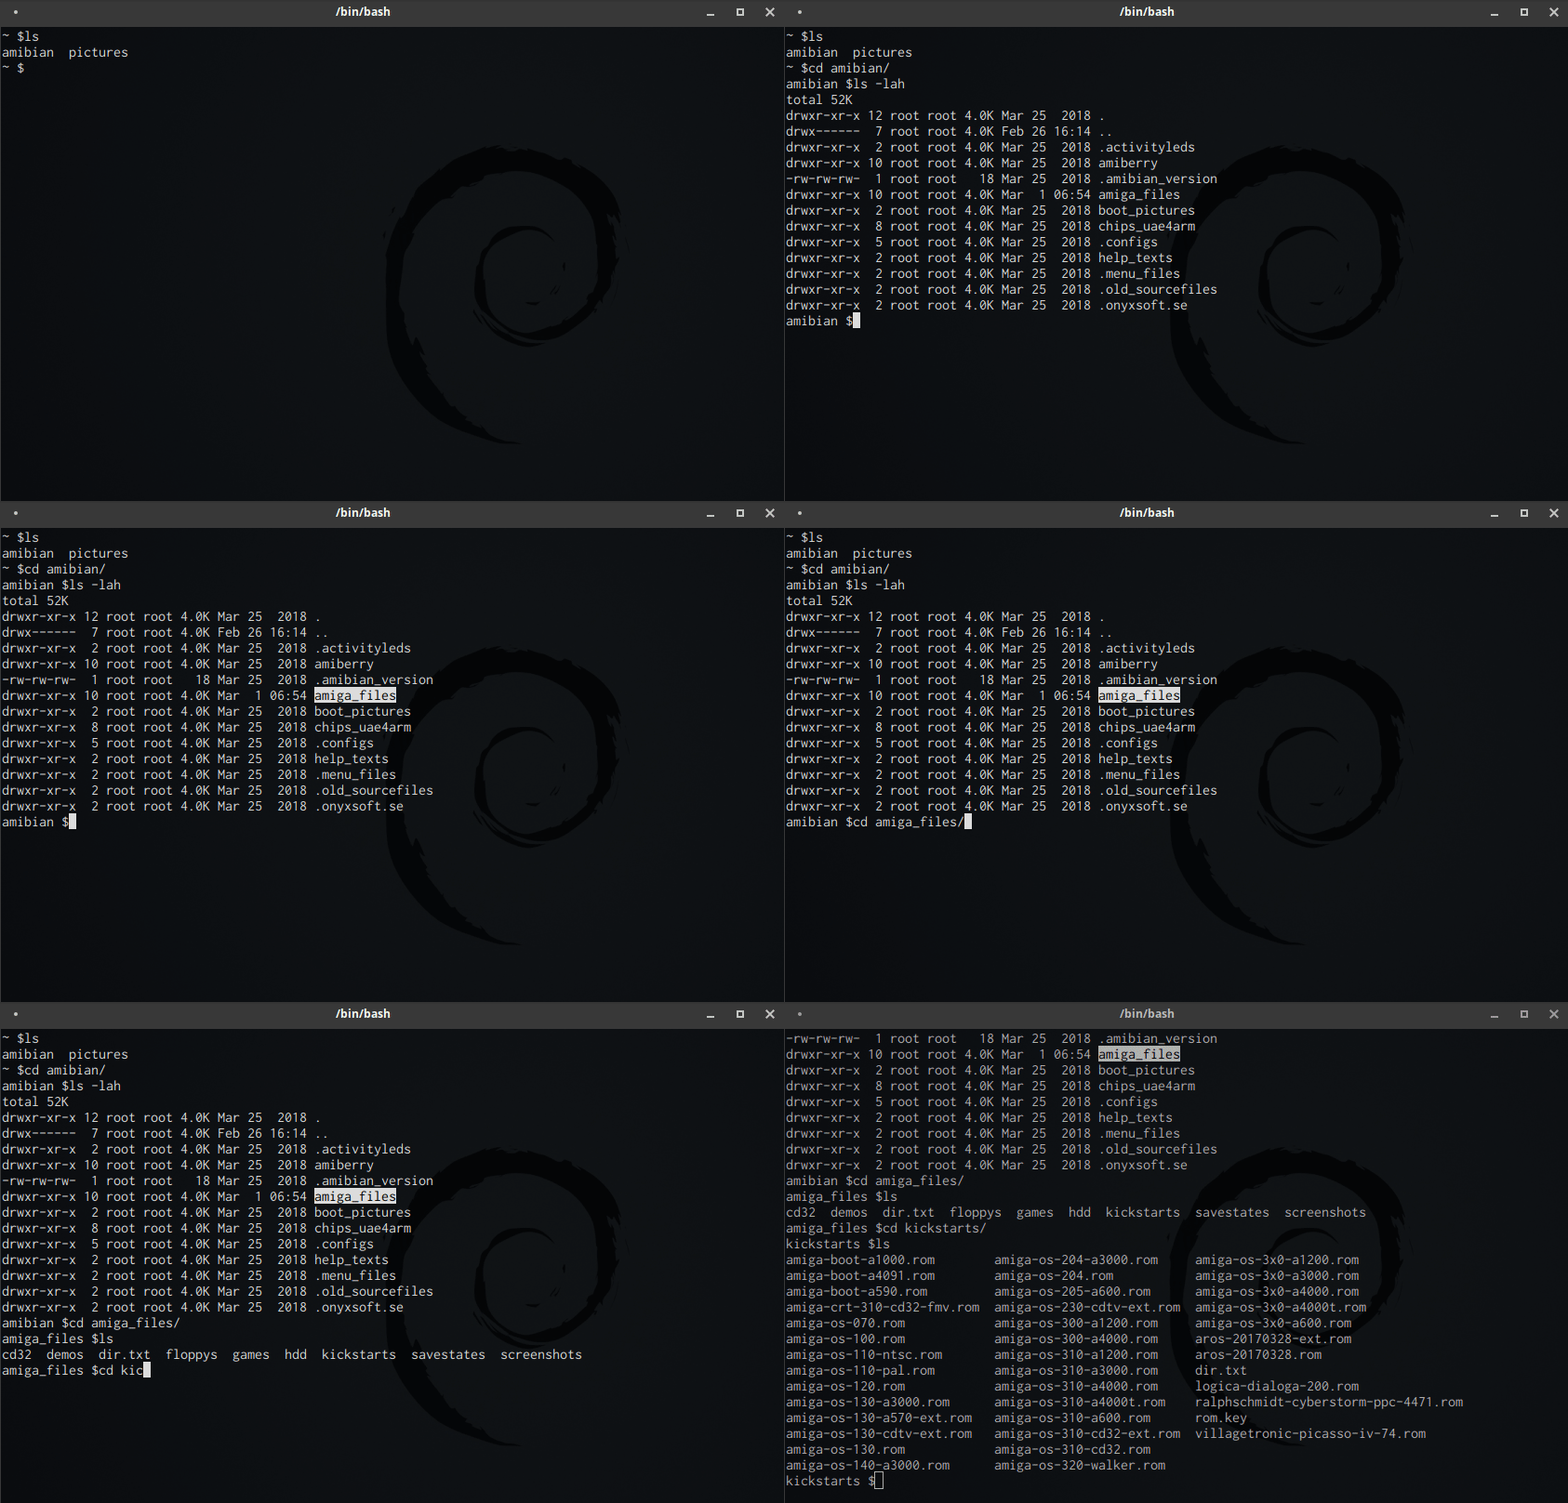
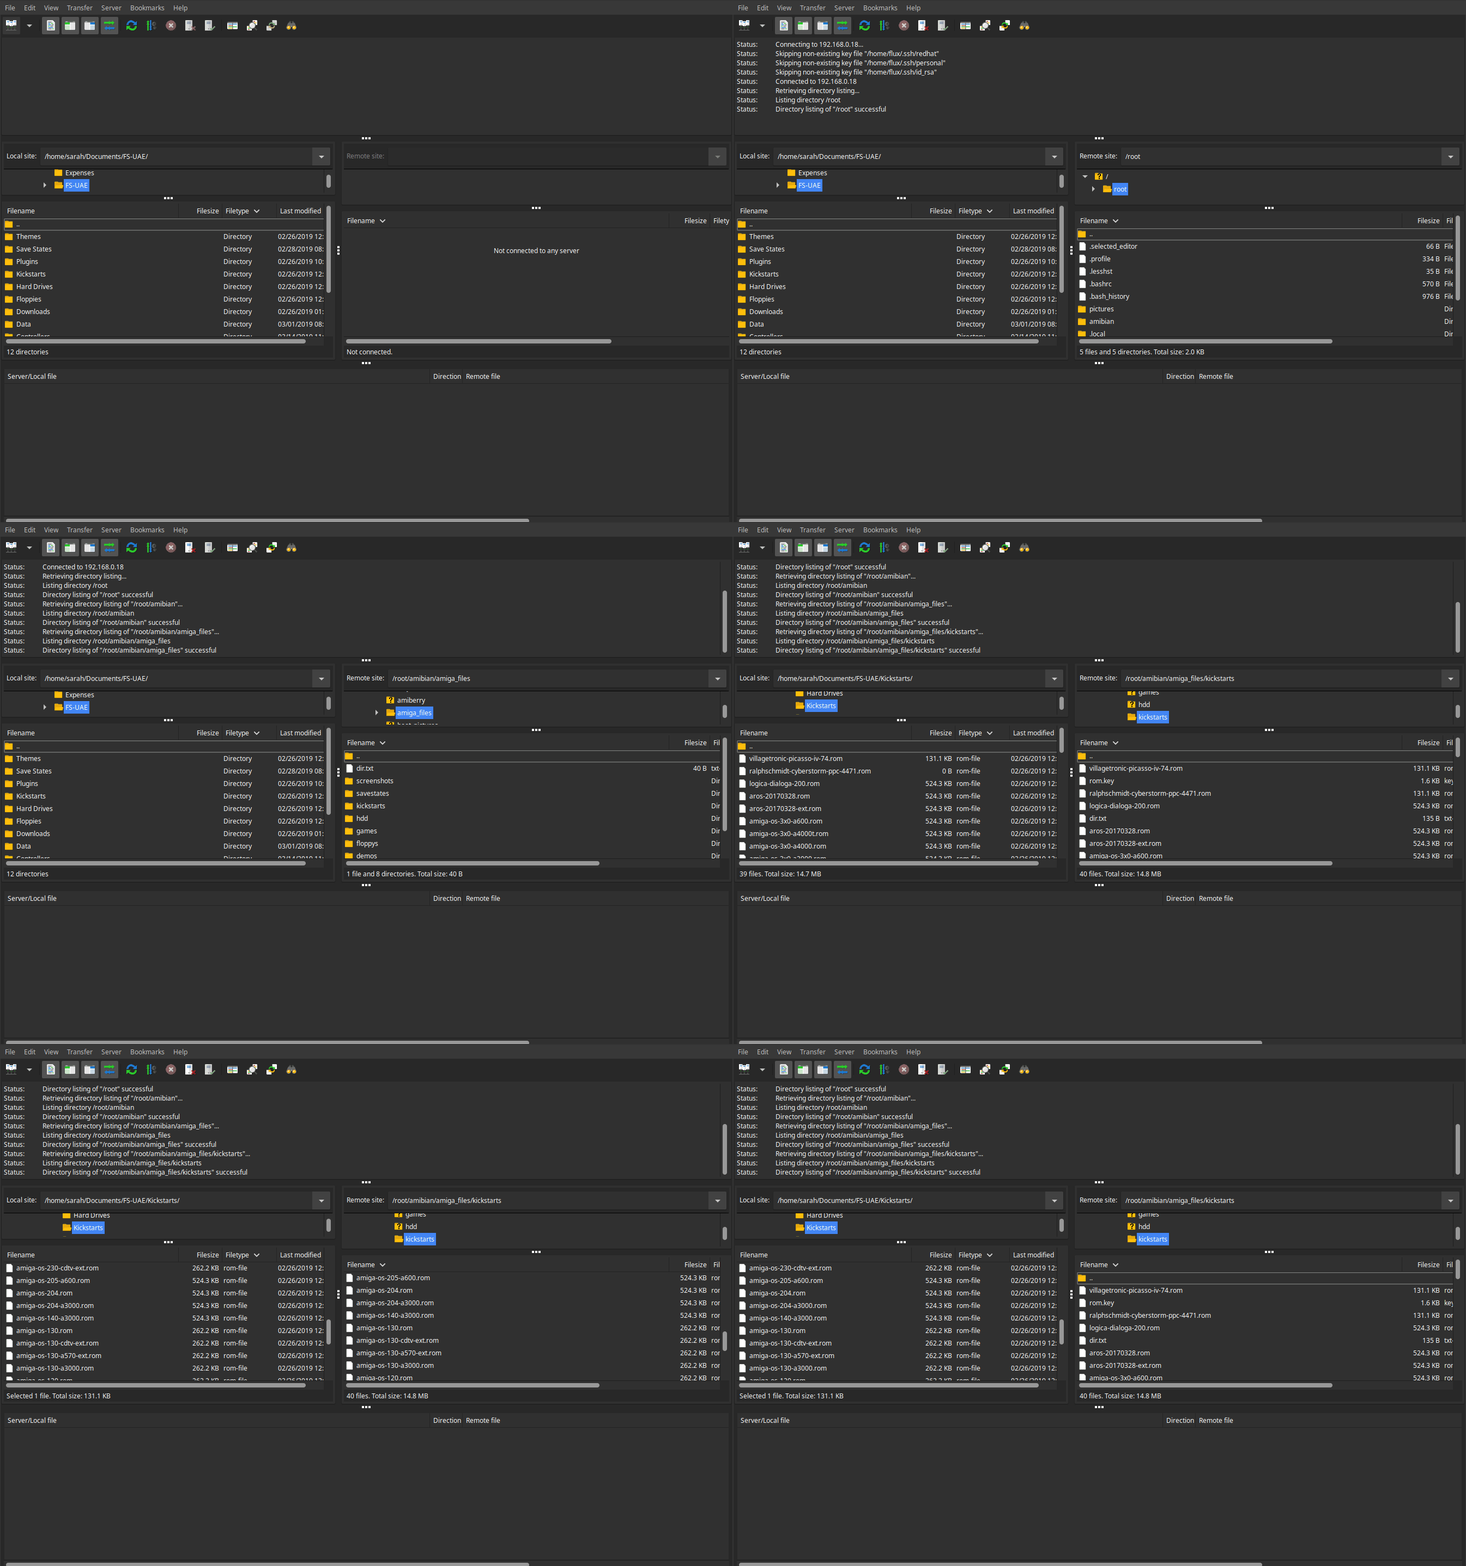
Copy the kickstart ROMs to your Raspberry Pi. If you have a working network, you can use FileZilla or another SFTP client to transfer the files. (Since I'm running Amiga Forever under Windows, I use it copy the ROMs from my Windows machine to my Pi.) Amiga Forever also comes with a large selection of games and demos. They are stored in the RP9 format, which are simply ZIP files; you can extract them and copy the ADF (Amiga Disk Format) file to your Pi to play them from there.
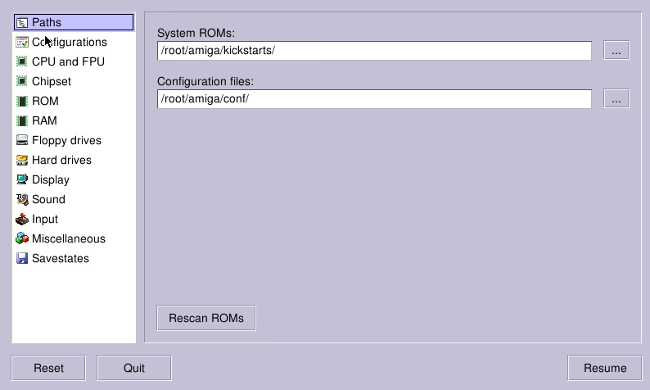
If you are storing the kickstart files and your games on a USB flash drive, you can configure the paths to your kickstarts from the main configuration window.
If you purchased your kickstarts from Cloanto, you must copy the rom.key file with the kickstart ROMs. They are encrypted and the key unlocks them and acts as your license. The ROMs won't work without the key.
If your kickstarts are stored on a USB drive, you can change the System ROMs folder to point to your USB. The path starts with /media/usb0 followed by the folder on the drive where your kickstarts are stored. So, if you have a folder called kickstarts on your flash drive, the path would be /media/usb0/kickstarts.
Dan Wood has an amazing walkthrough video on how to get to this point. His YouTube channel has great content on original Amigas and emulation and is well worth checking out if you are an Amiga fan.
RetroPie
In addition to the emulators mentioned above, for the Raspberry Pi, I also recommend RetroPie, which includes Amiberry for the Amiga and makes it easier to boot games. Also, FS-UAE-Arcade is a nice addition to any setup, as it creates a kiosk around your game profiles, making it easier to launch them.
To get them running, use the UAE launcher to configure a default system in RetroPie. Then pop back to RetroPie and launch an Amiga game. Before it loads, you'll get a launcher screen with the option to configure settings by pressing the Enter key. Choose your profile, then all games will use that profile to launch your games.
Play games
The reason we went through all this is so we can play games, right? So how do we add them? I normally store my games in the floppies folder on my MicroSD card, under amiga_files. Games are in ADF (Amiga Disk Format). Think of them as a snapshot of an Amiga diskette. Some games require multiple disks, and there are two ways to handle them: you can load each disk under the "floppies" section of the emulator, or you can ZIP the files and load the ZIP file onto the "floppy." They will automatically be extracted when you hit the Reset button. If you ever need to add a floppy mid-game, press F4 to pause the game and return you to the emulator window. From there, you can add the new disk under "floppies" and hit the Resume button.
The Amiga has a rich history and a very active community—there are still games being made for these amazing machines. Aquabyss is a new game released in 2019, and demos are still being developed.
Beyond games
My interest in the Amiga goes beyond playing games. Since the days of using my A2000 to learn programming, I've been interested in the operating system. Here's some places online to learn more about this iconic system and how to push it further.
- AmigaOS Workbench 4.1
- Installing Workbench 3.1 / 3.5 on a Raspberry Pi
- Amiga Forever
- Classic Amiga Workbench
- Amiga.org
- DHL's Amiga Archive
I hope you have fun playing with your Amiga on your Raspberry Pi! I'd love to hear your feedback in the comments.


8 Comments